A self-assigned test of my ability to use my camera and edit at a higher level.
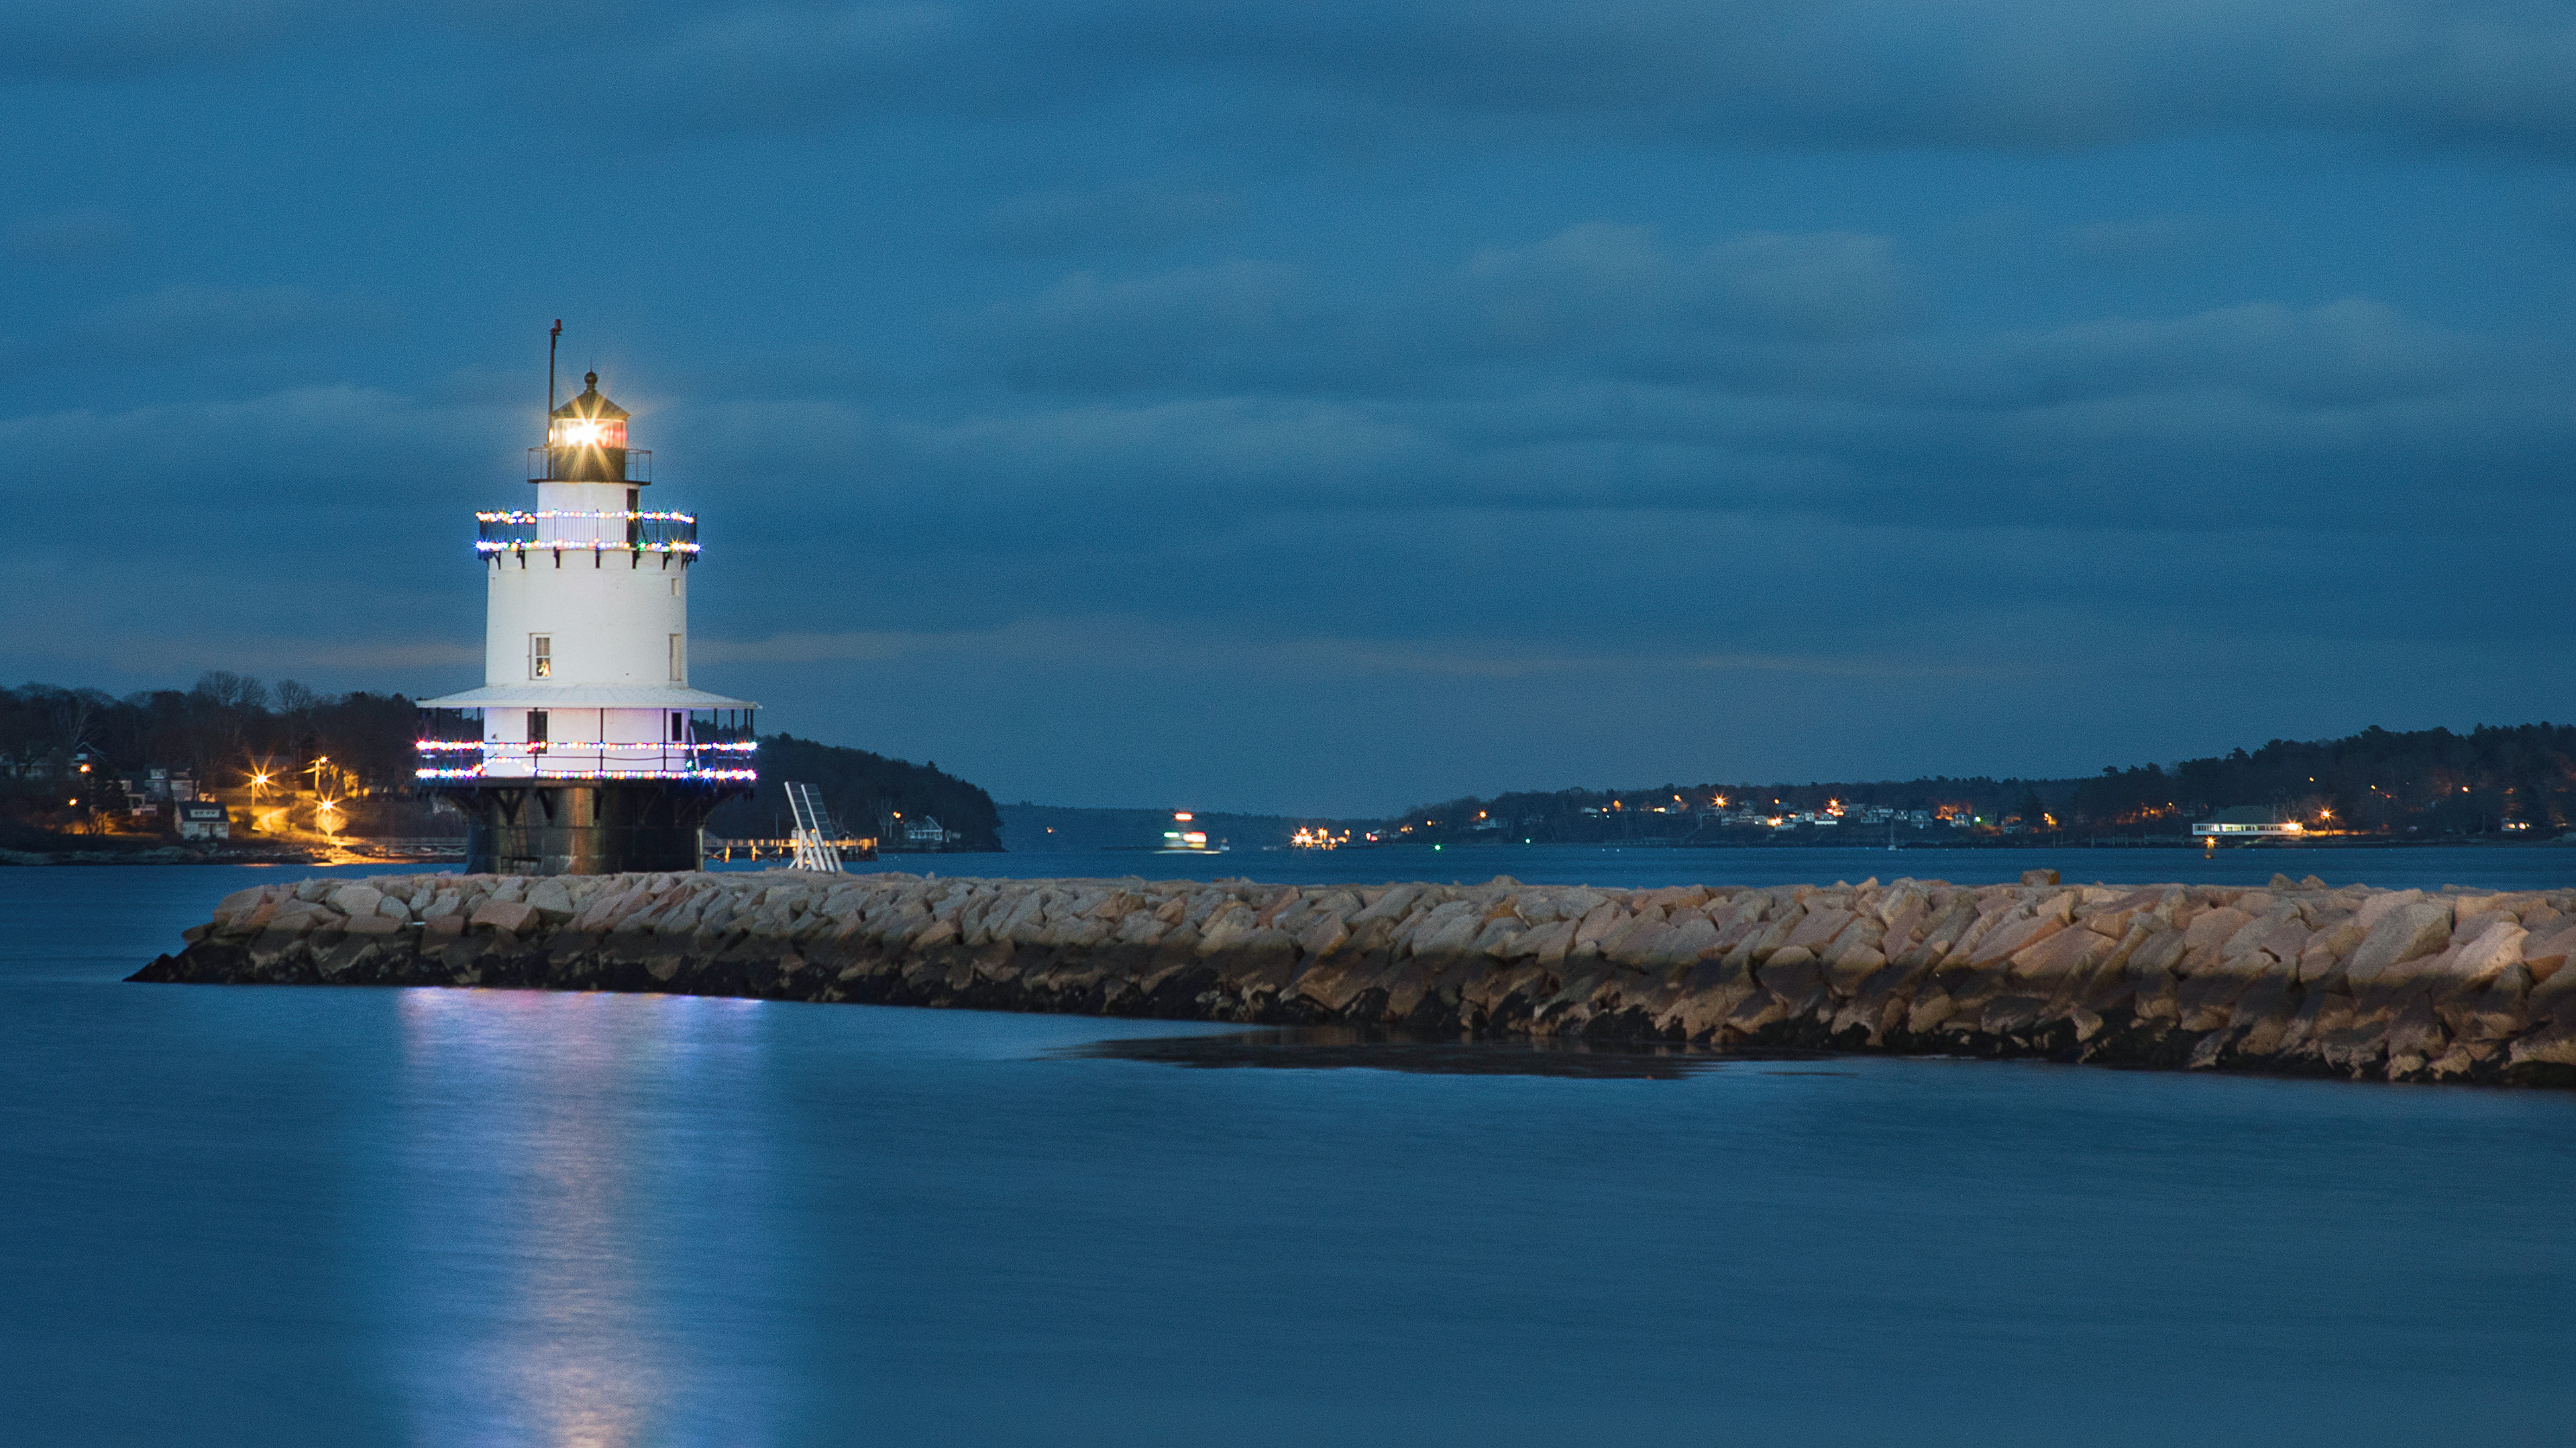
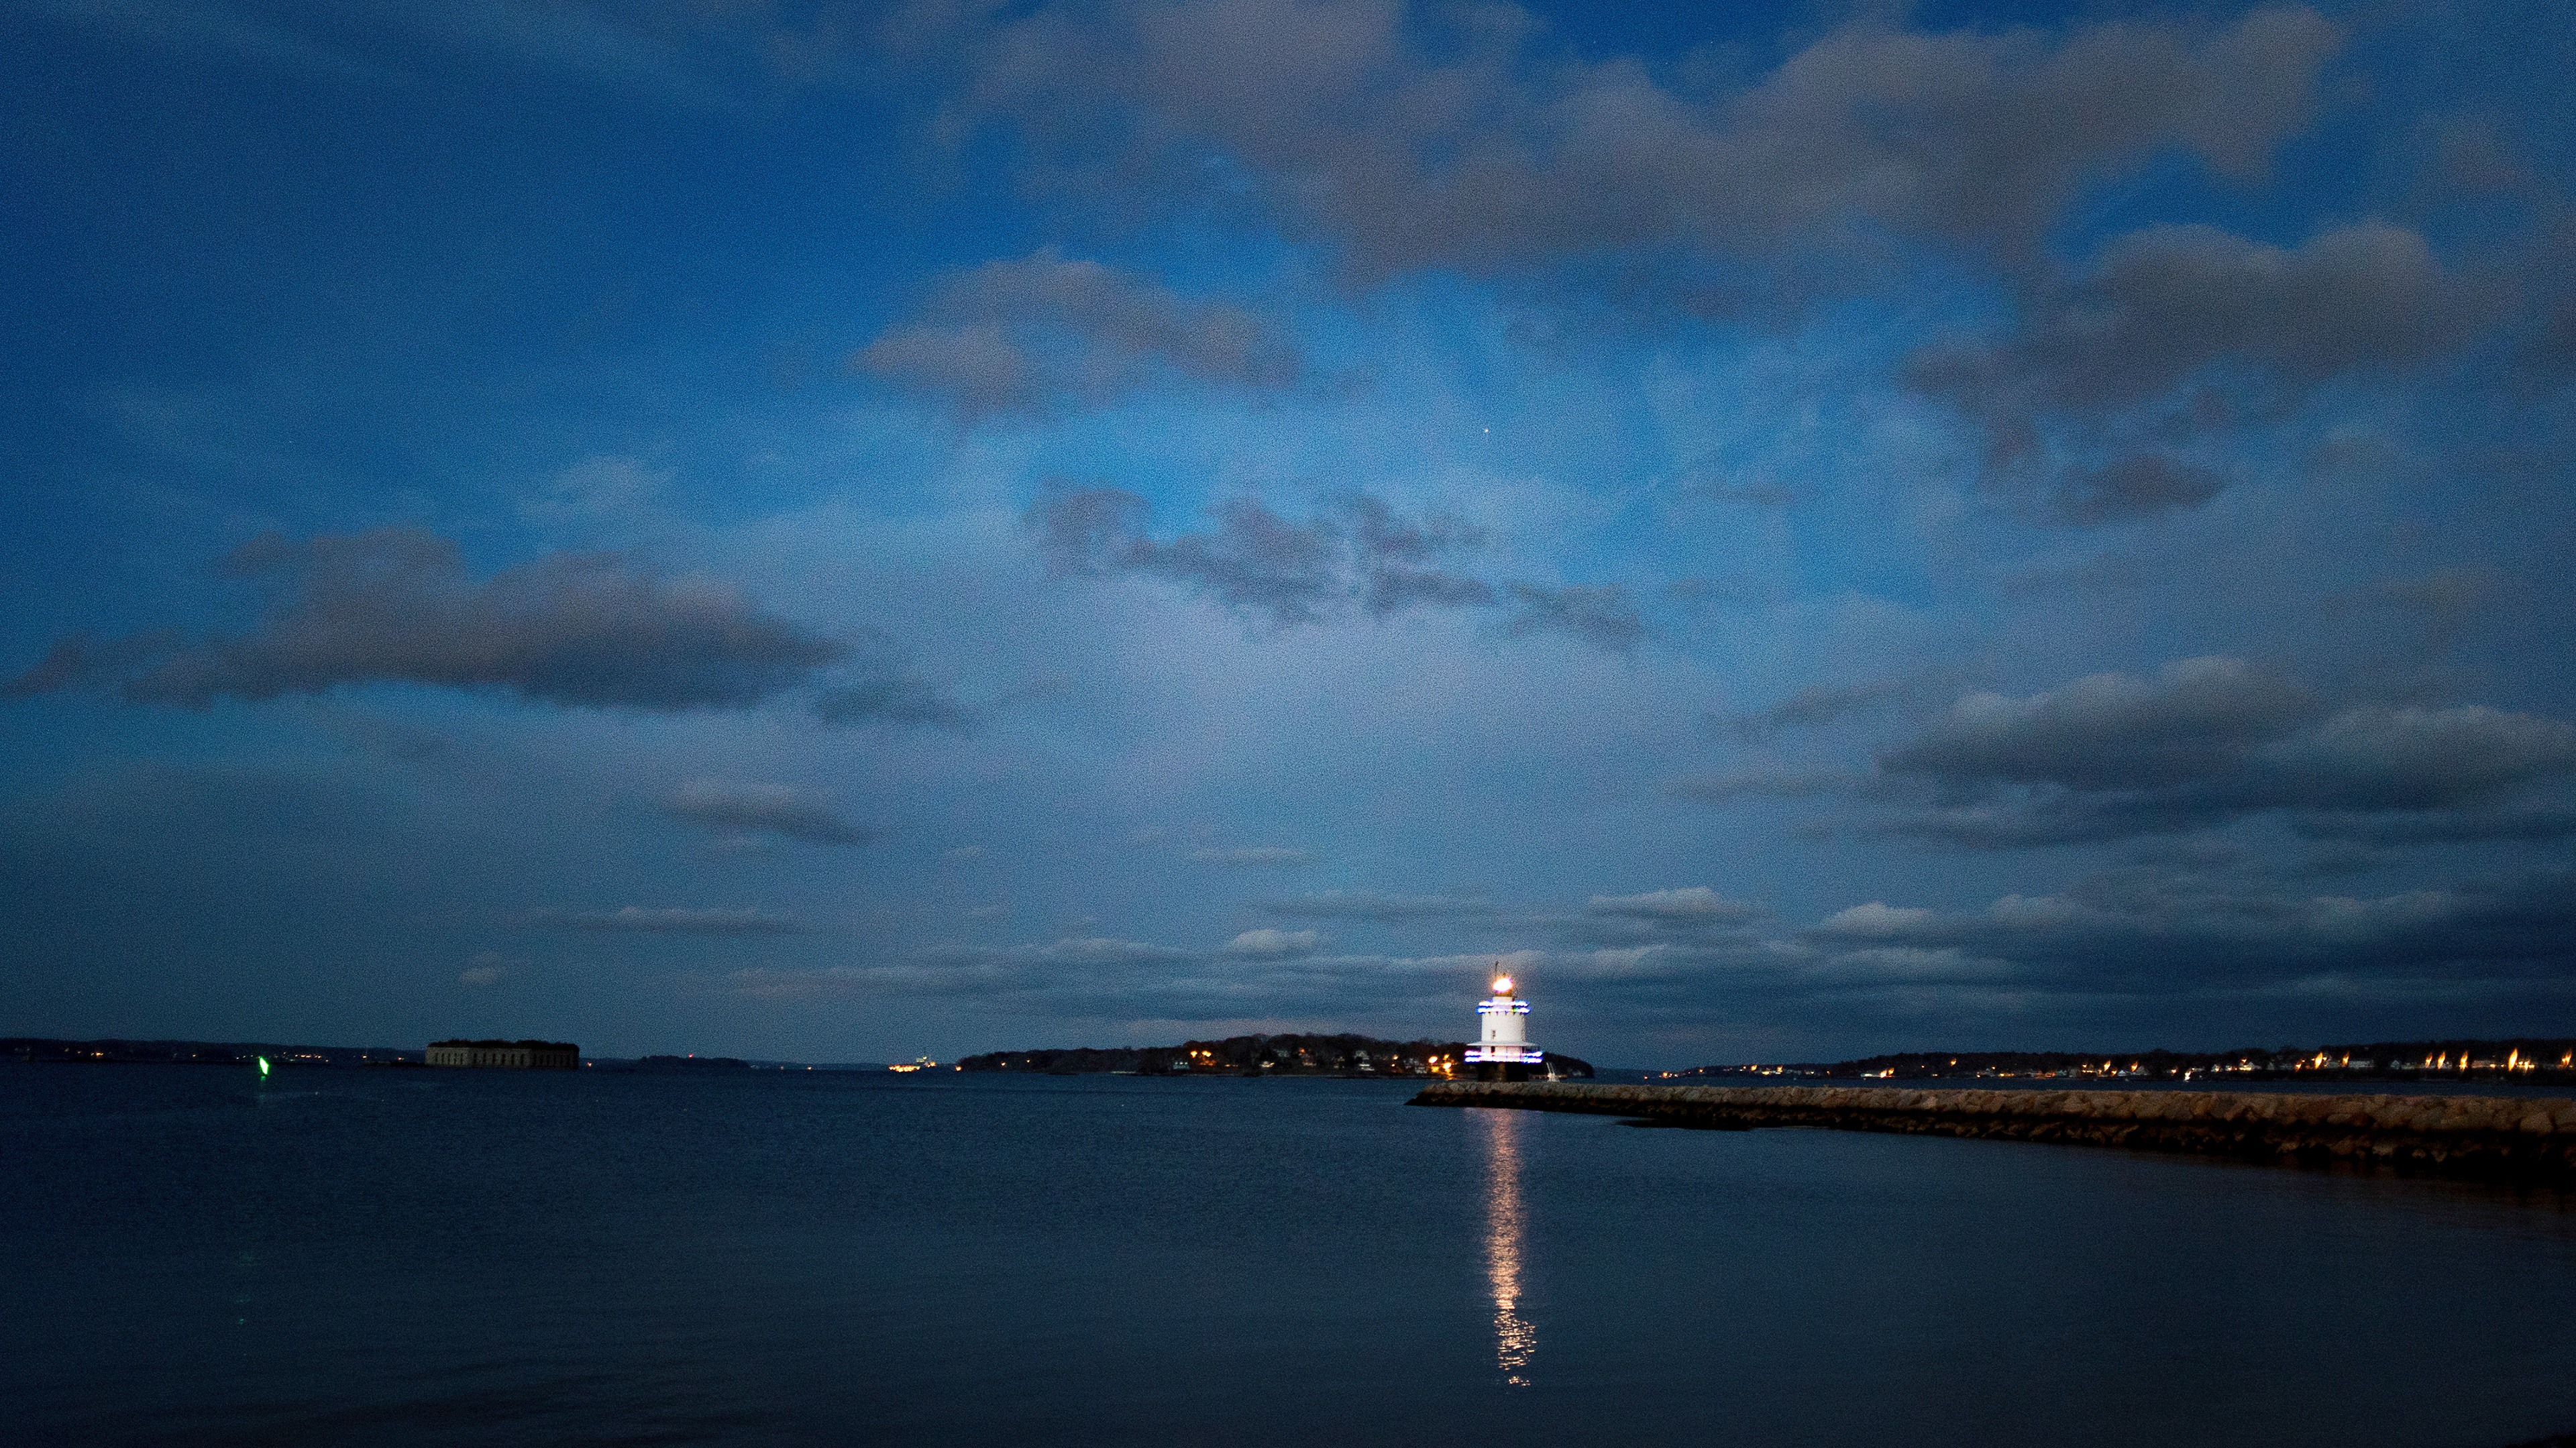
Everyone, who is not still in school, comes up with assignments for themselves...right? The genesis of this was a chance glimpse of the Spring Point Lighthouse, on the edge of the campus where I work, festively decorated for the holidays. A known sucker for Christmas lights, I knew I would need to come back with a camera. In fairness, I am also a sucker for the late afternoon/ early evening light and that doubled with the December full moon hovering right around the days I engaged the material.
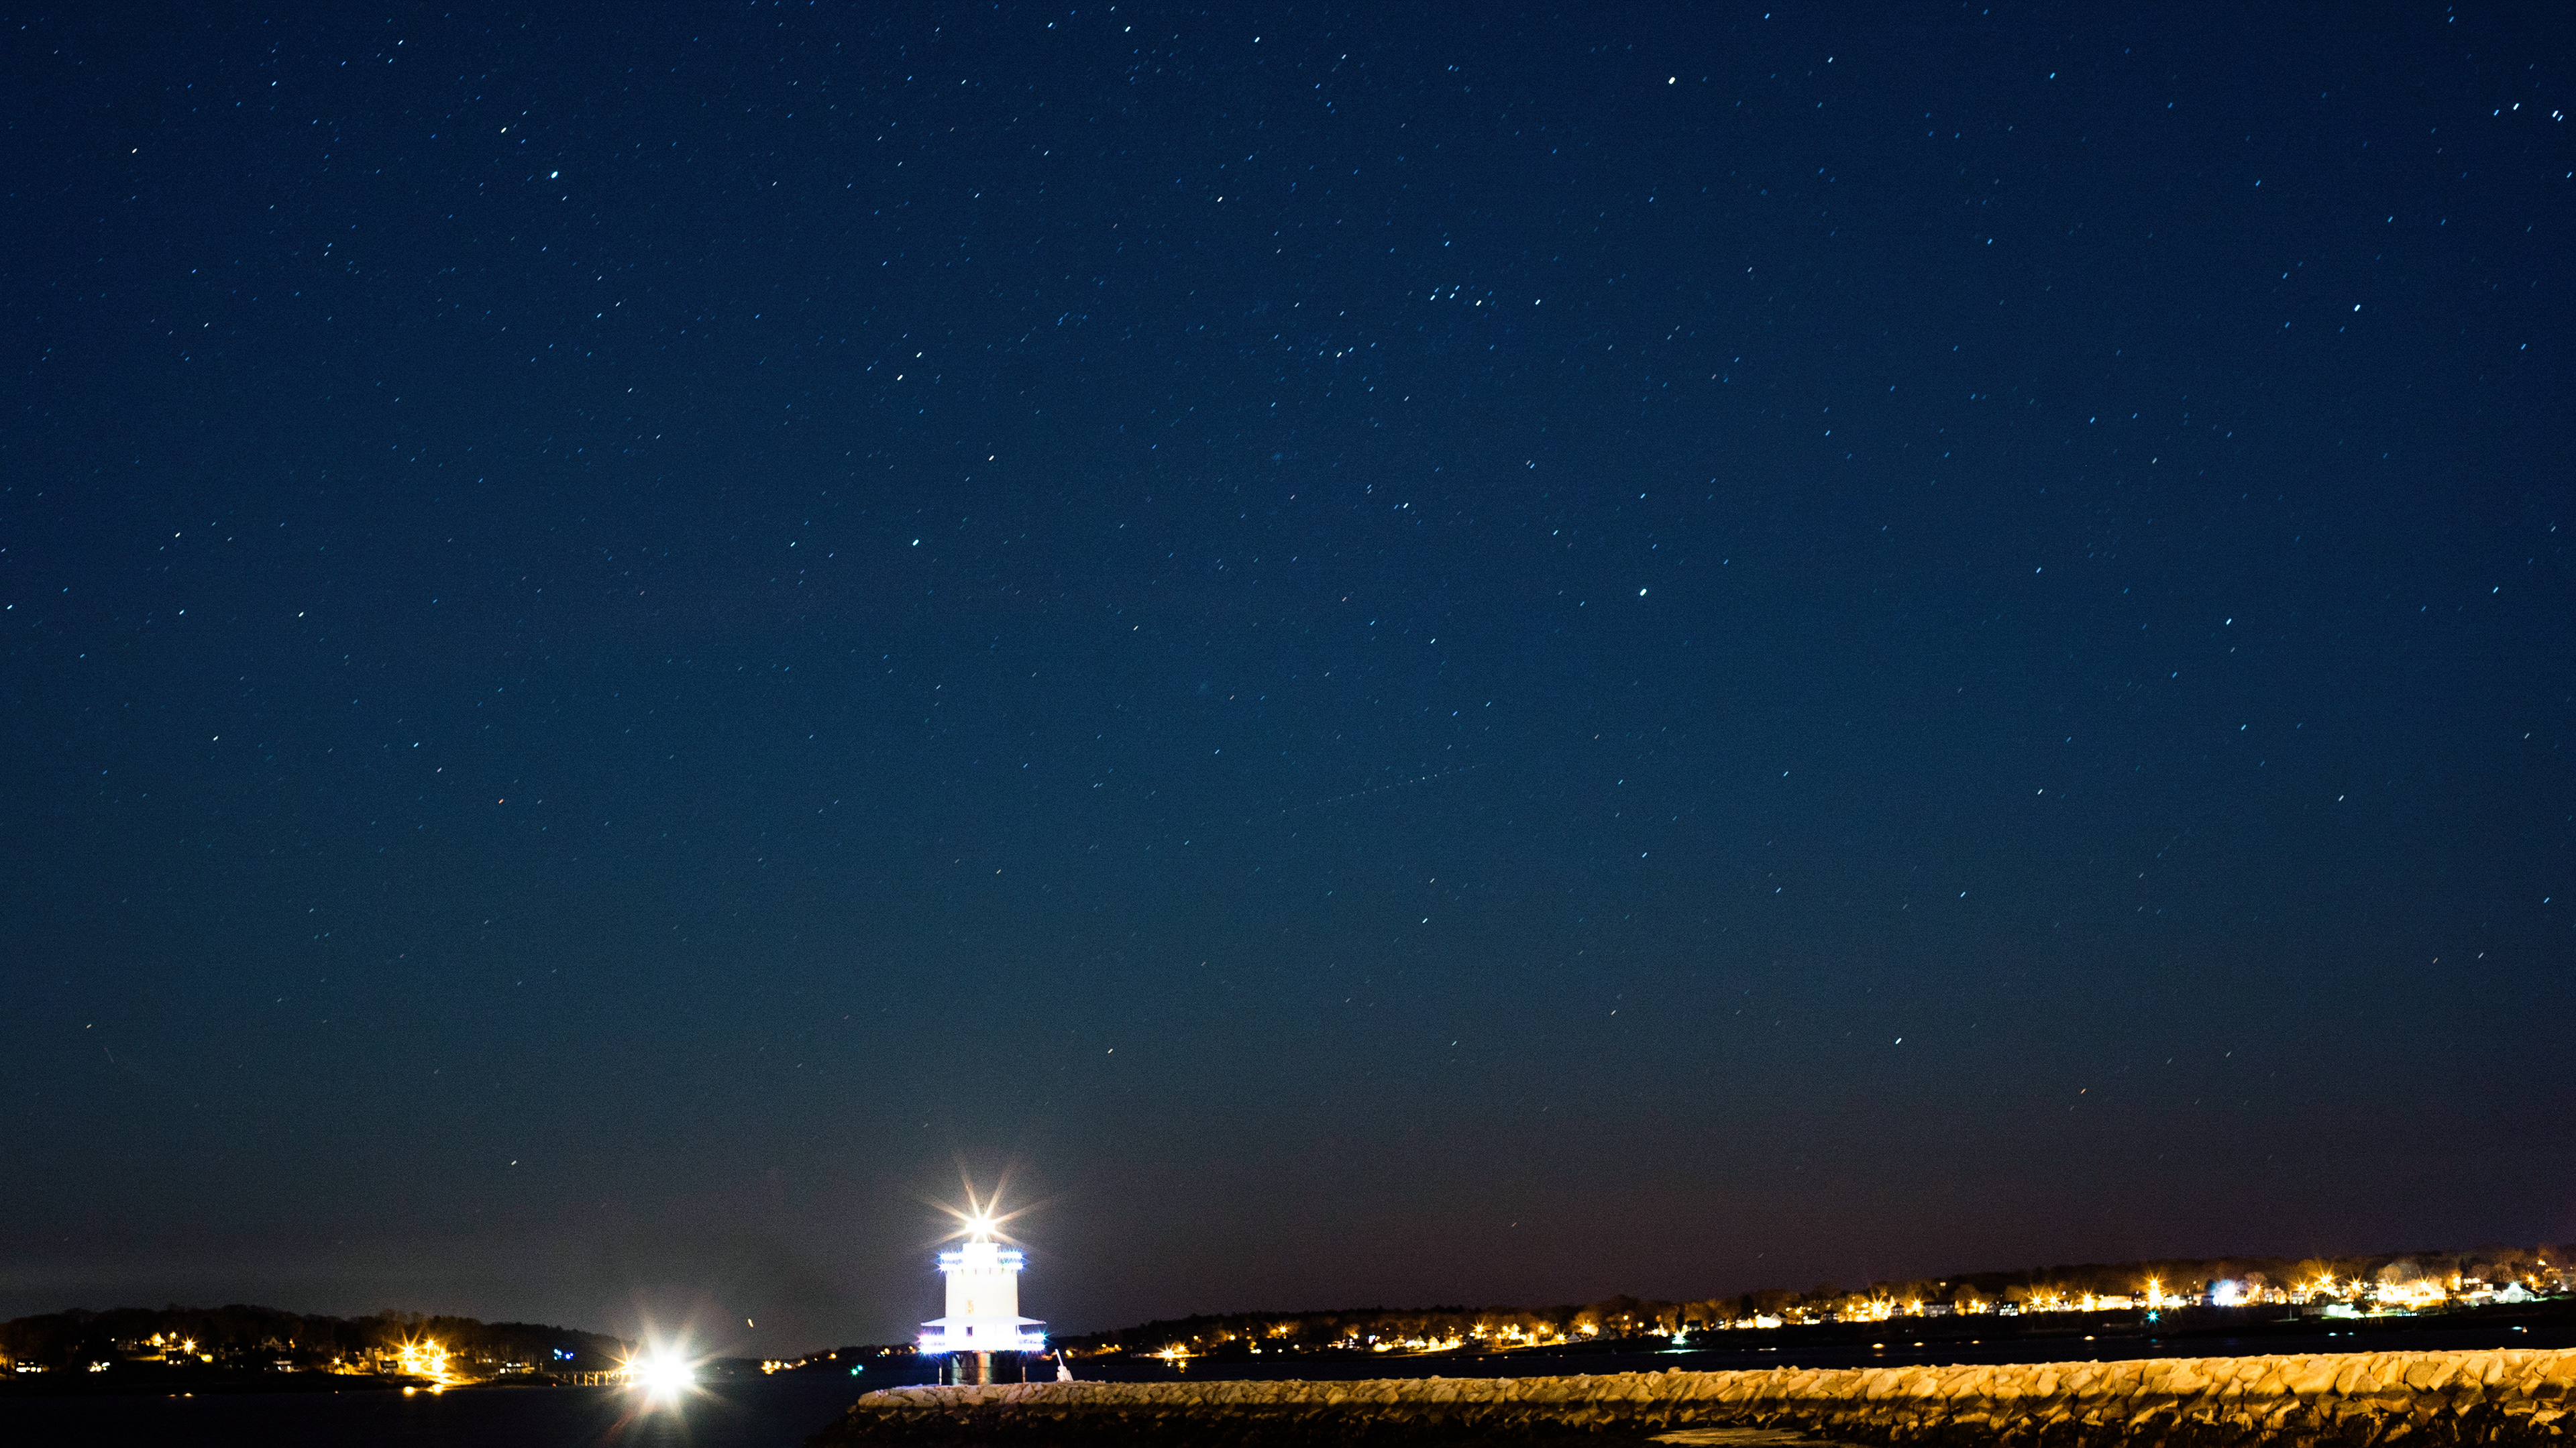
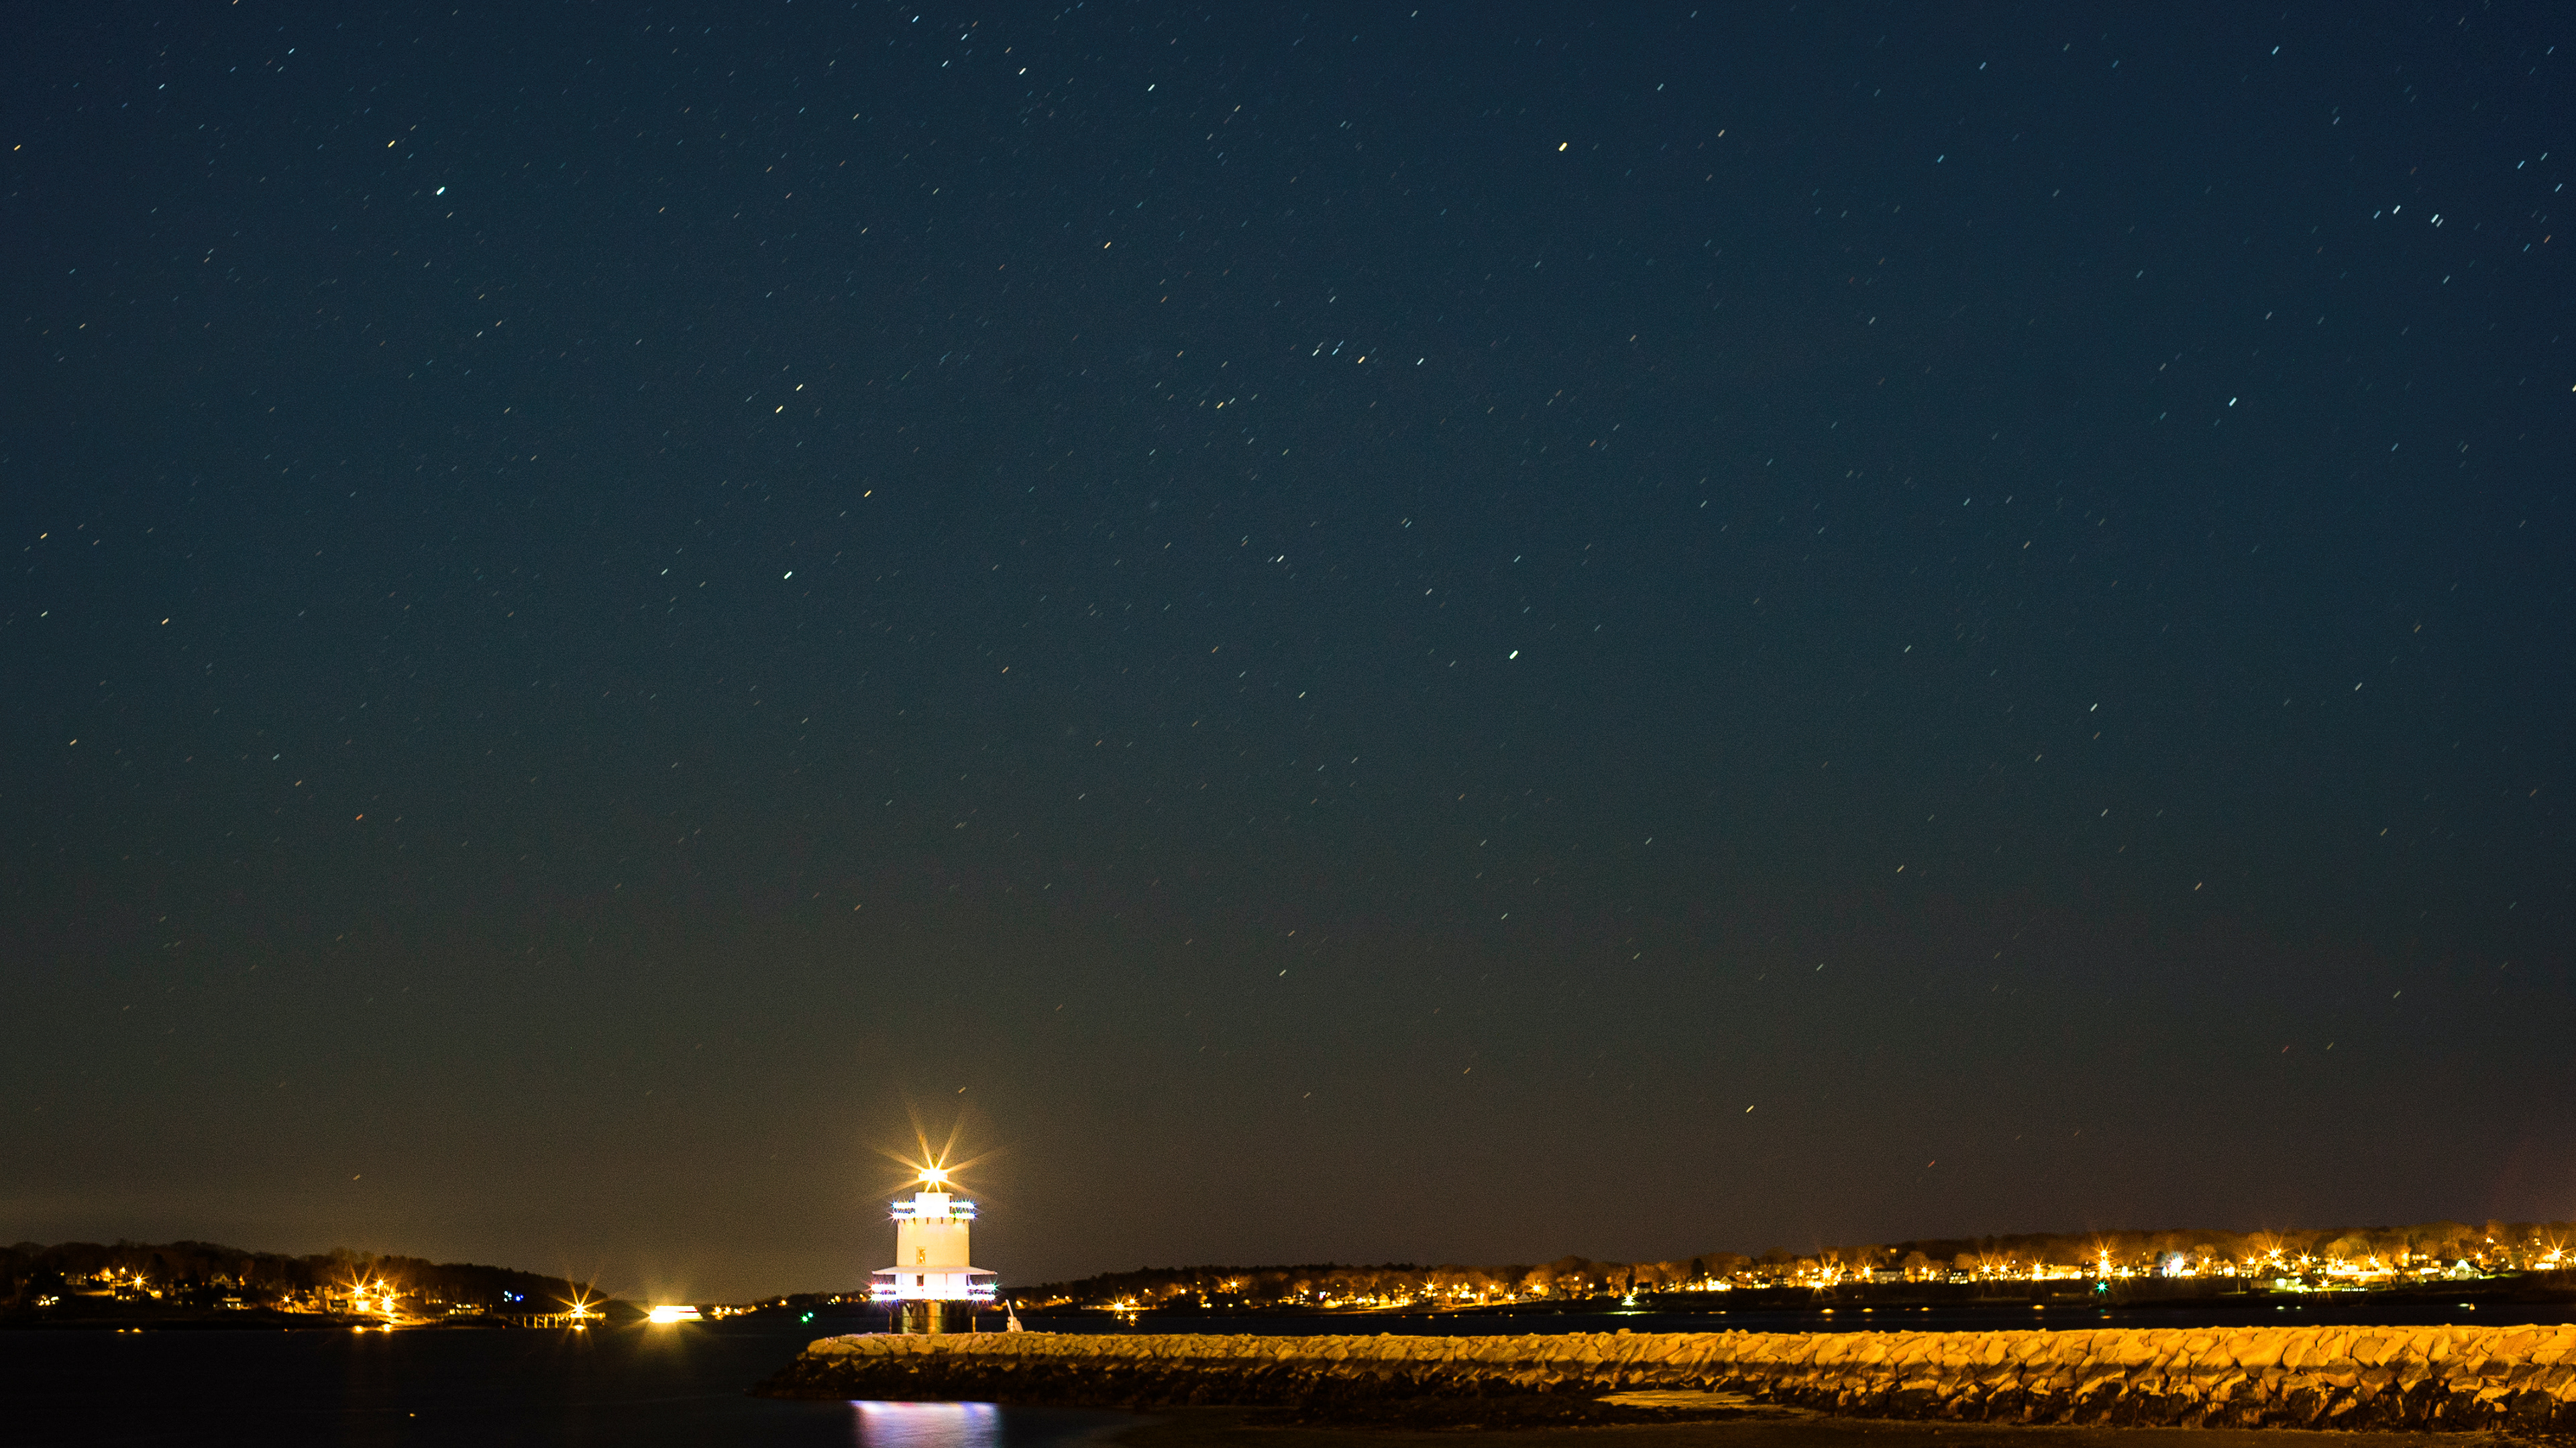
Friday, December 1st...first try
I went out for the first round on a Friday, starting 30 min, or so, after sunset but well before the not yet risen moon. It was partly cloudy and high tide...but of which were helpful. I was shooting with a Sony A7s with the ISO set to around 2400 to 3200, using two legacy lenses, a Olympus Mount Zuiko 28mm2.8 and an OM 135mm2.8. The A7s is sort of ideal for this, it has a lower pixel count than most current pro or semi-pro cameras but with its full 35mm frame, the pixels can be relatively large and, it seems, the ISO on the sensor can go high...like crazy high, to just over 400,000. I have spent a lot of time pushing that ISO, because I could...I was supposed to. For the most part the camera is happy to help and, in fact, it often 'sees' things in the dark that I can't. But there IS a little noise at those higher speeds, part of my assignment was to find that balance point in the camera and in my eyes...the place where things were 'seen' but the richness of the color and smoothness of the tonality more graceful, and less conscious of the pixels.
This first set is ok, I was reasonably pleased with the camera, but not all that satisfied with the final results. In addition to pushing the camera, I have been working really, really, REALLY hard at my post-processing of the digital negative(s), that means following rules and following a workflow assiduously and REALLY paying attention to the details. These images are all shot in RAW format, they come straight into Lightroom where I have made some adjustments to Lightroom's RAW developing, the big one being that LR's earnest desire to sharpen every image before I even see it has been turned off ( well it is turned off before I do anything else...I would REALLY like to be able to save my RAW settings, I might be able to, I am not sure...at some point, I will RTFM. I adjust the exposure, contrast and some of the highlight and shadow detail in Lightroom, and grade all the images on a first pass. I usually spot the image early on, if I do it in LR I know I can step back. Mirrorless cameras are SO prone to picking up dust, spots will happen...I hate to admit and ask forgiveness now but, thats the way it is.
Once I am down to a workable few, I export photoshop files, PSDs. I try really hard never, ever to make destructive changes in LR and I have tried to make sure my workflow does not let edits made in Photoshop come back to the original imported file, among other things that means I can always come back to the original file and get back to the original RAW file.
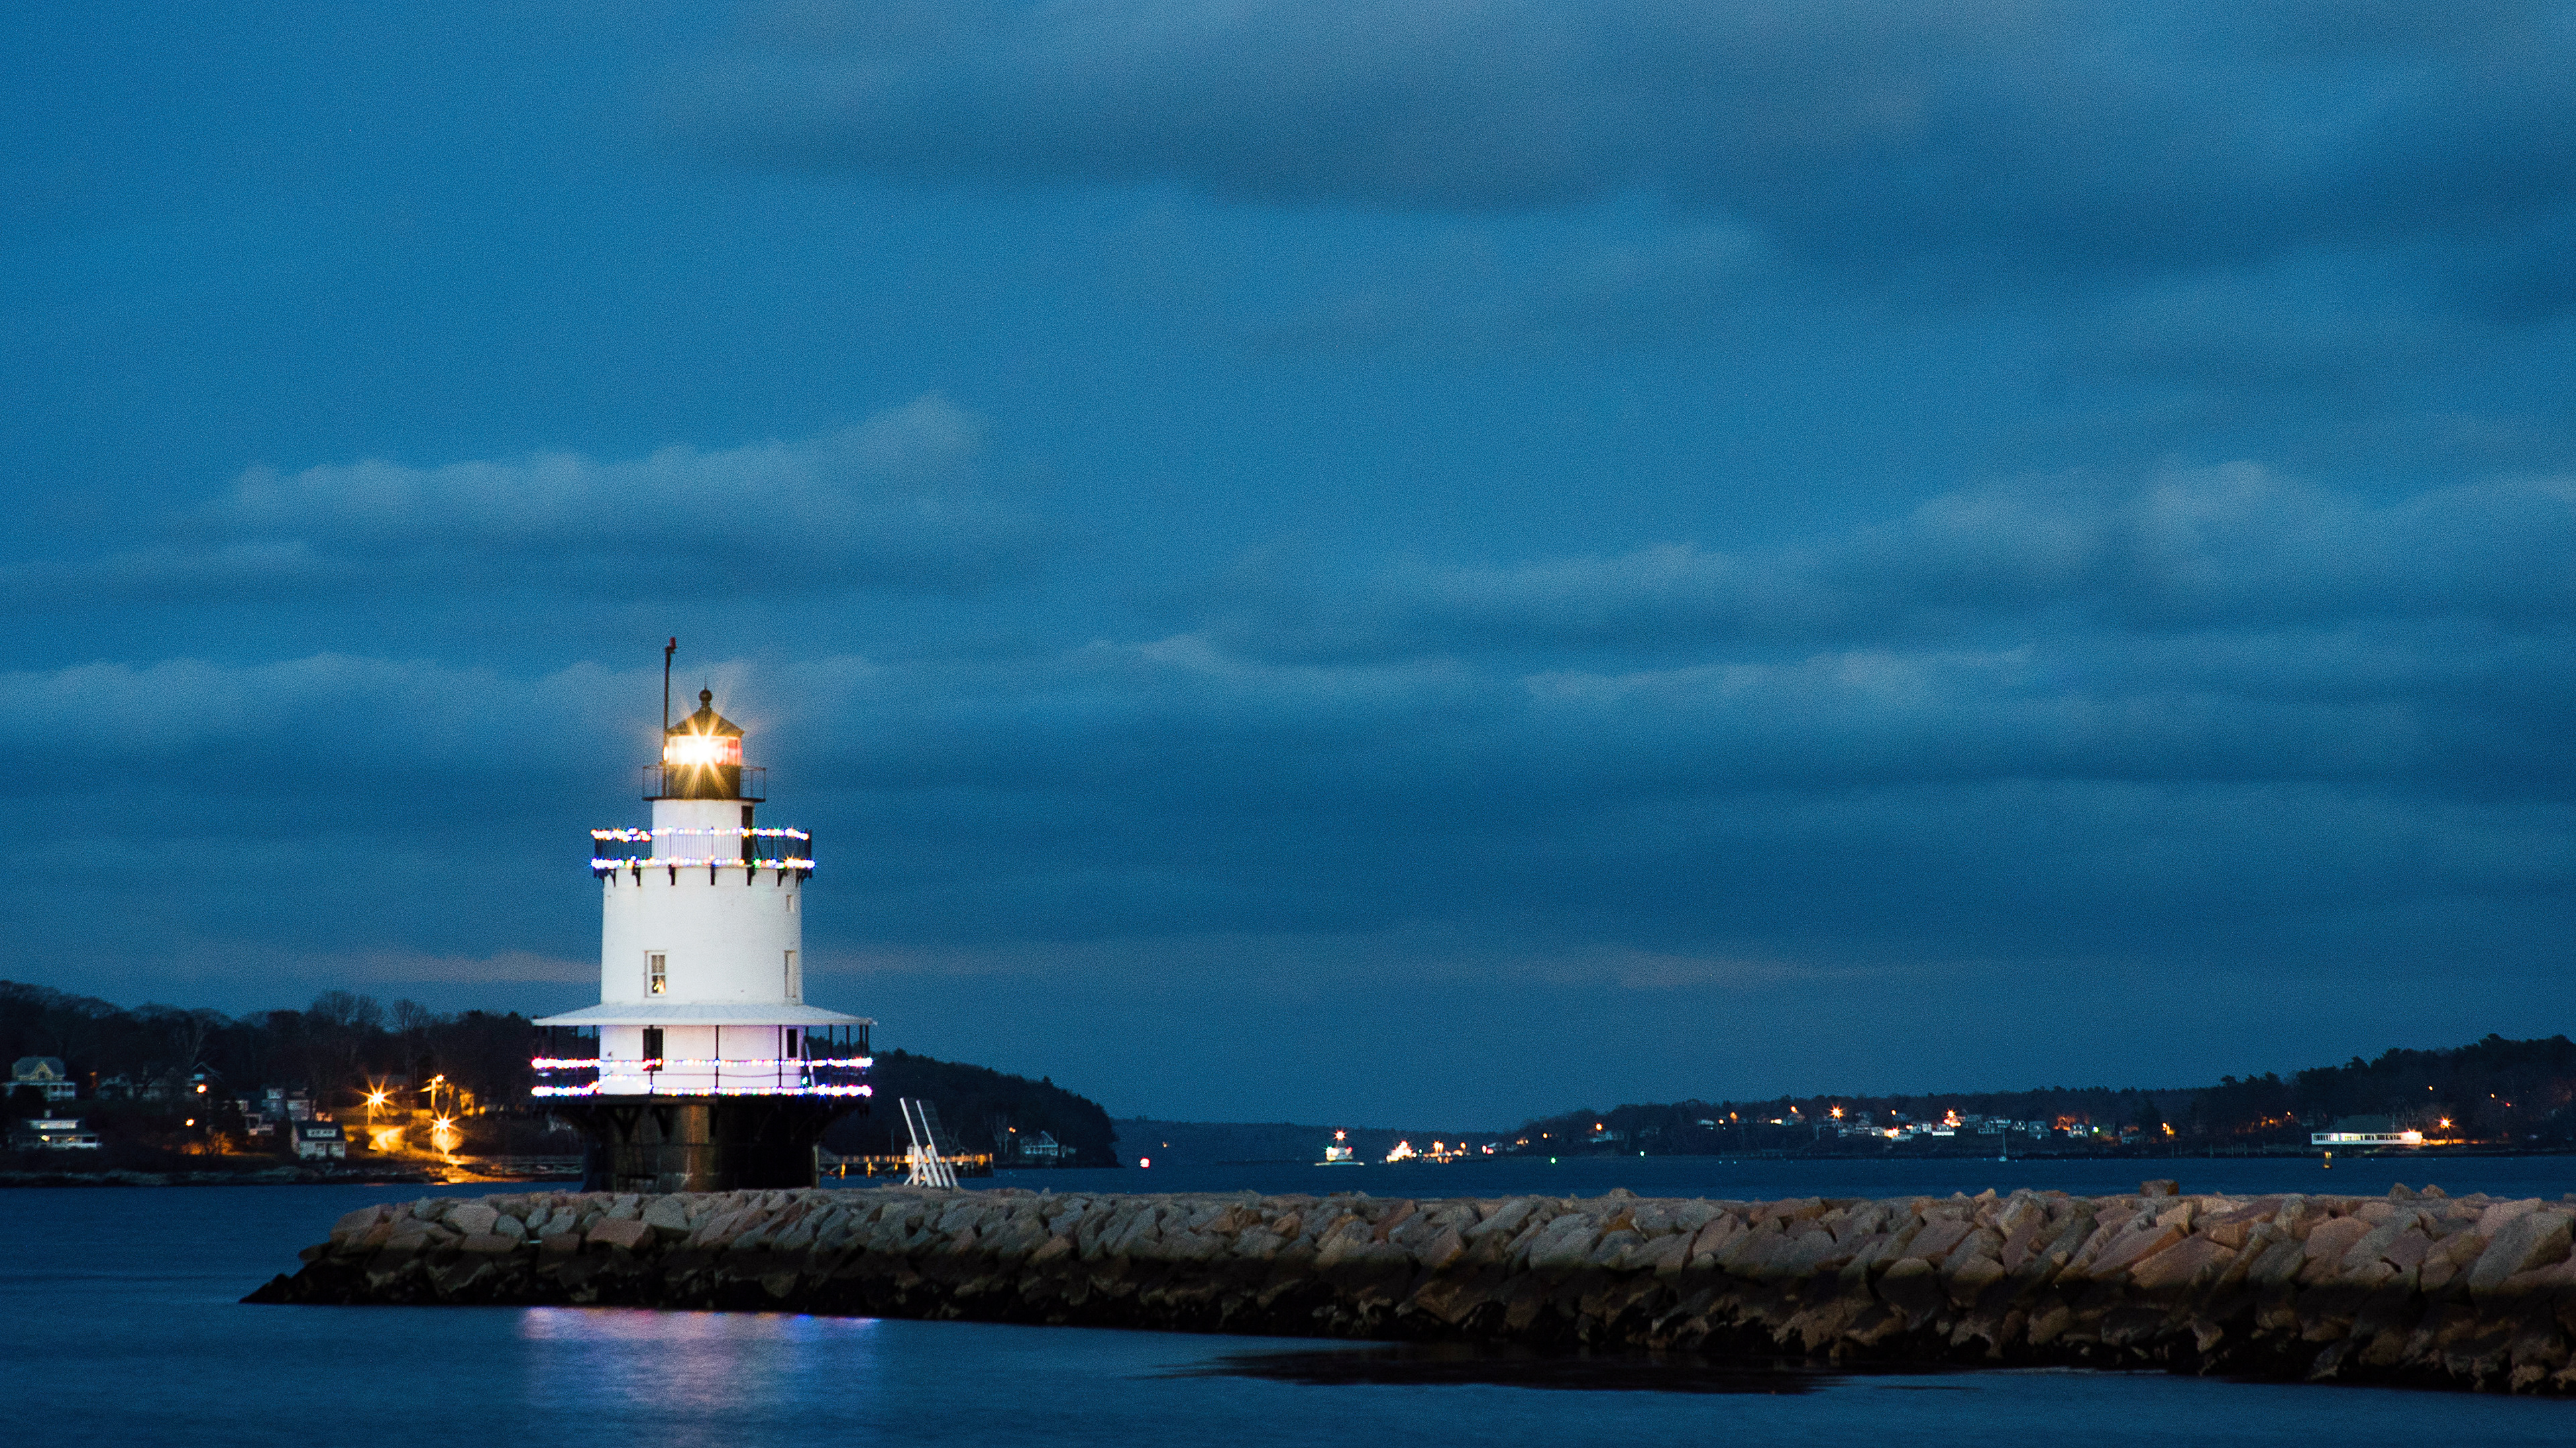
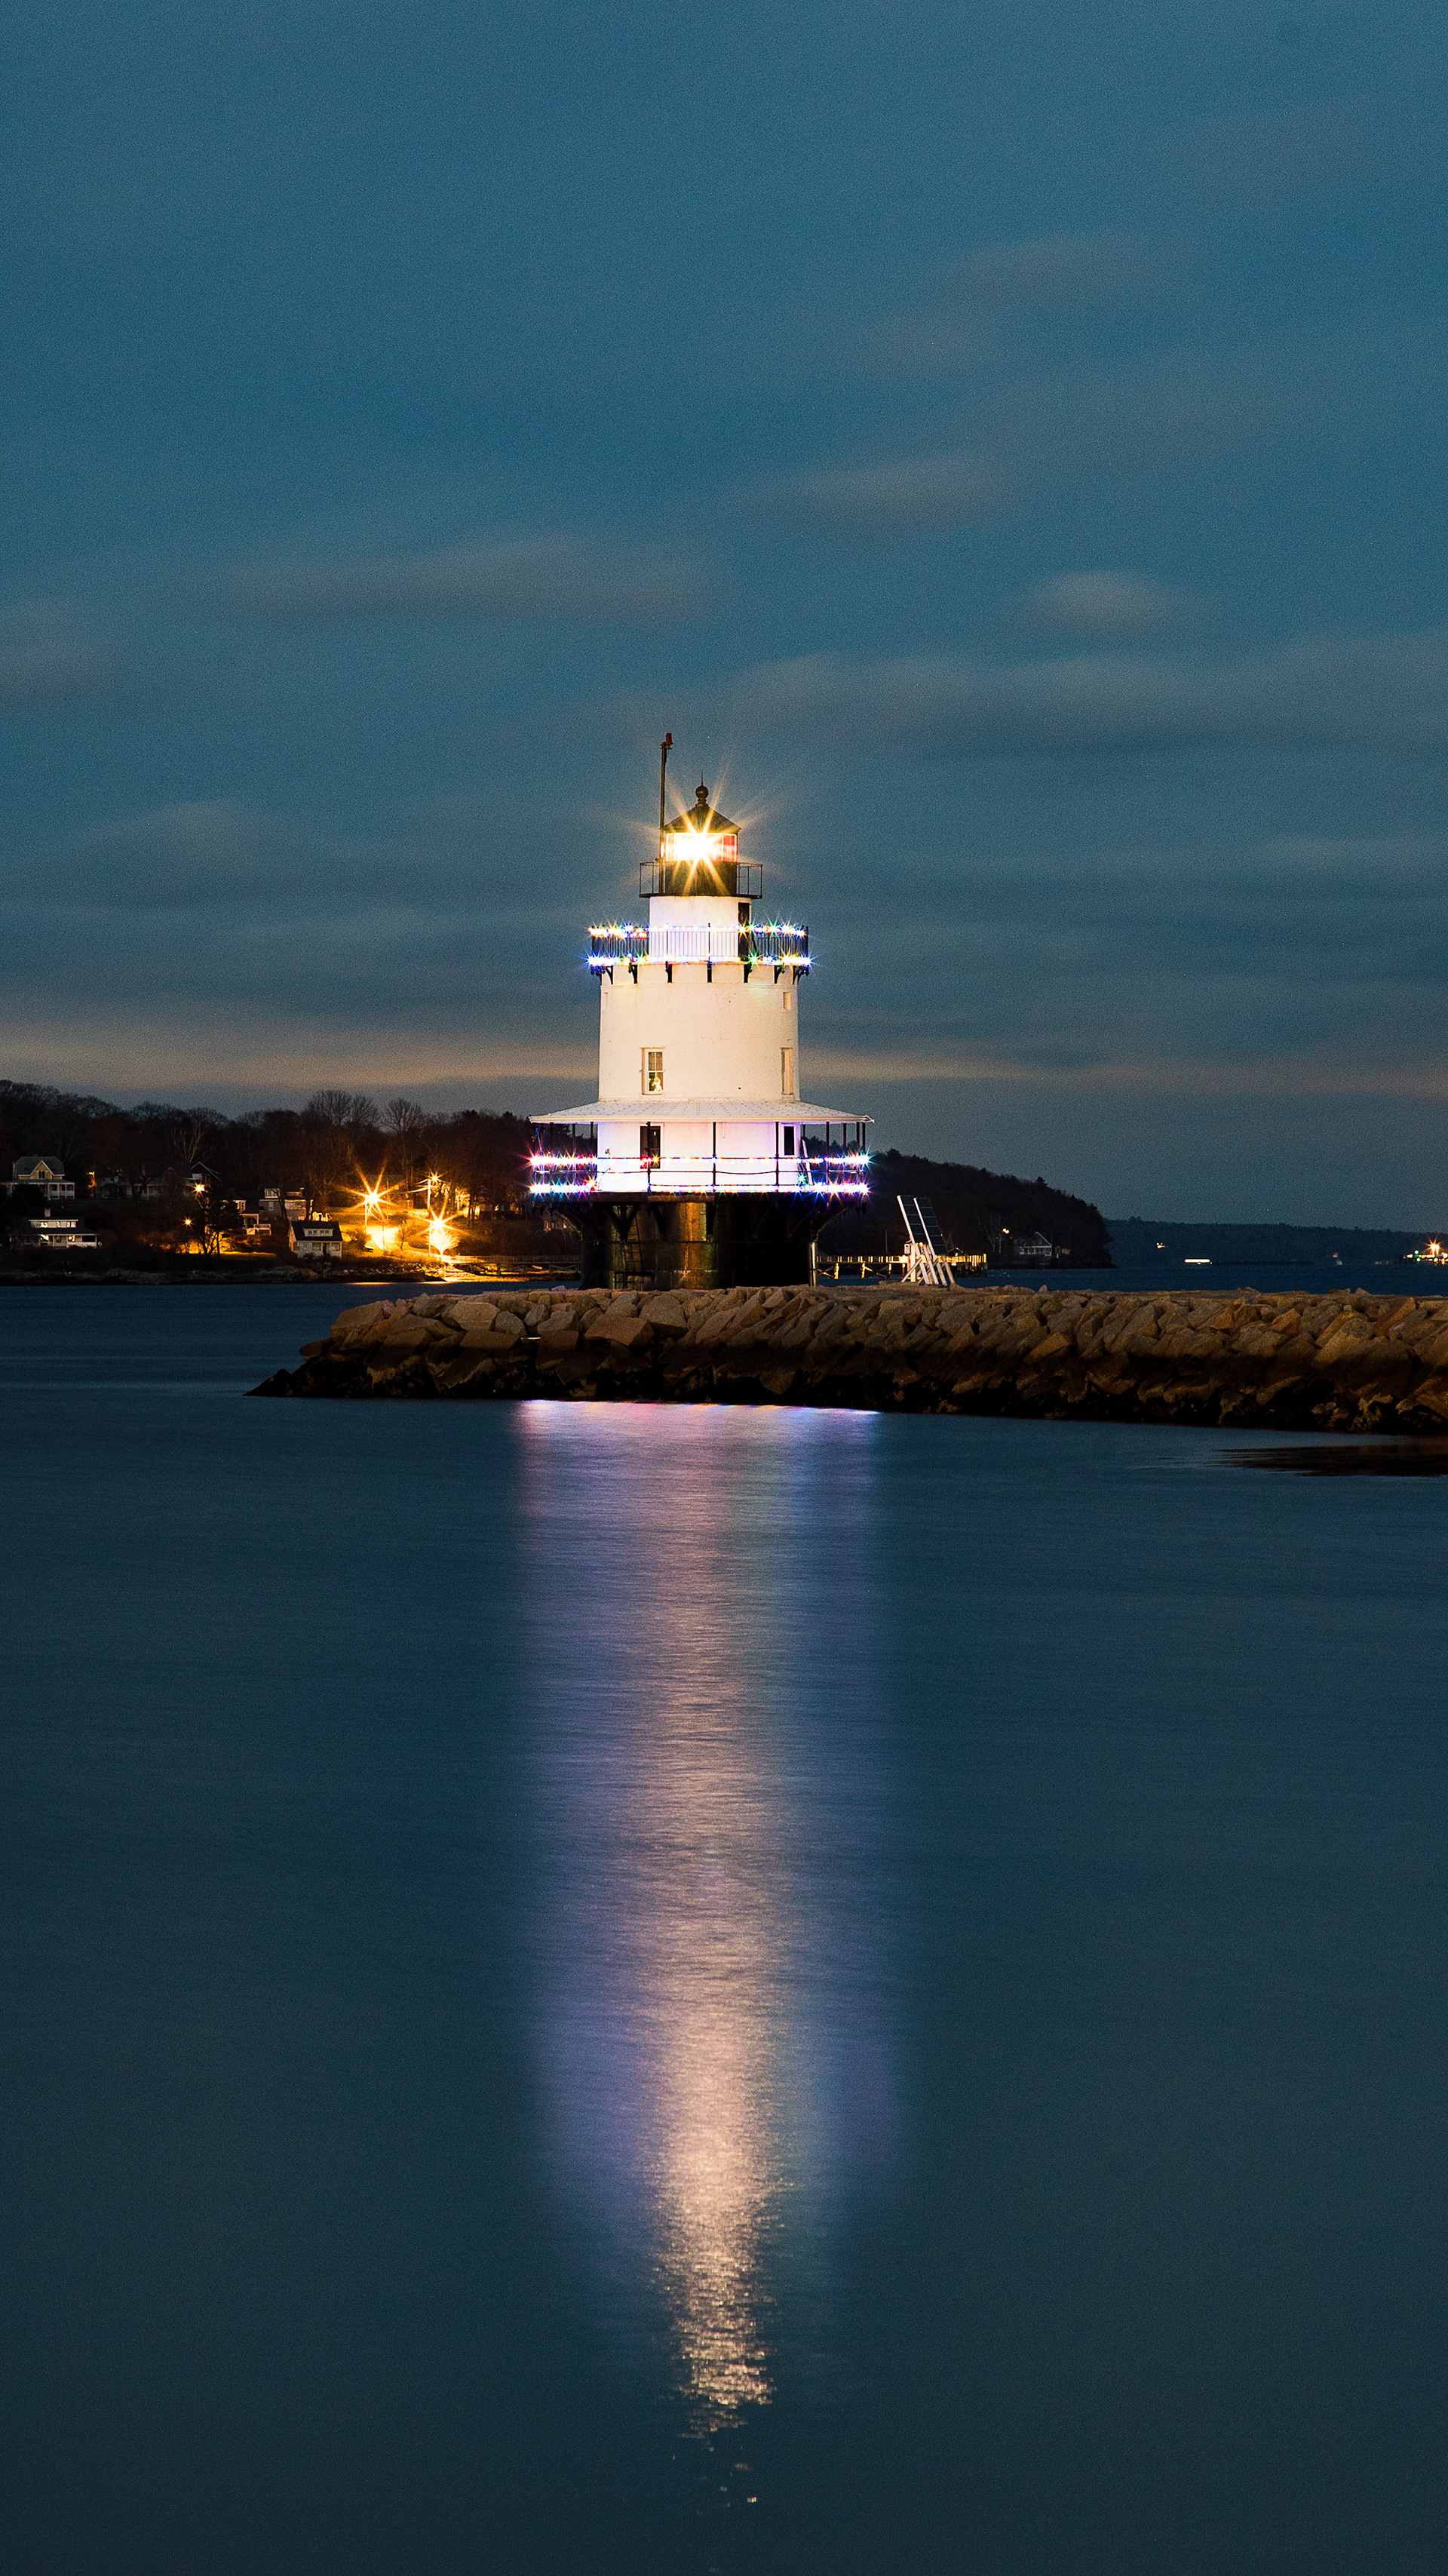
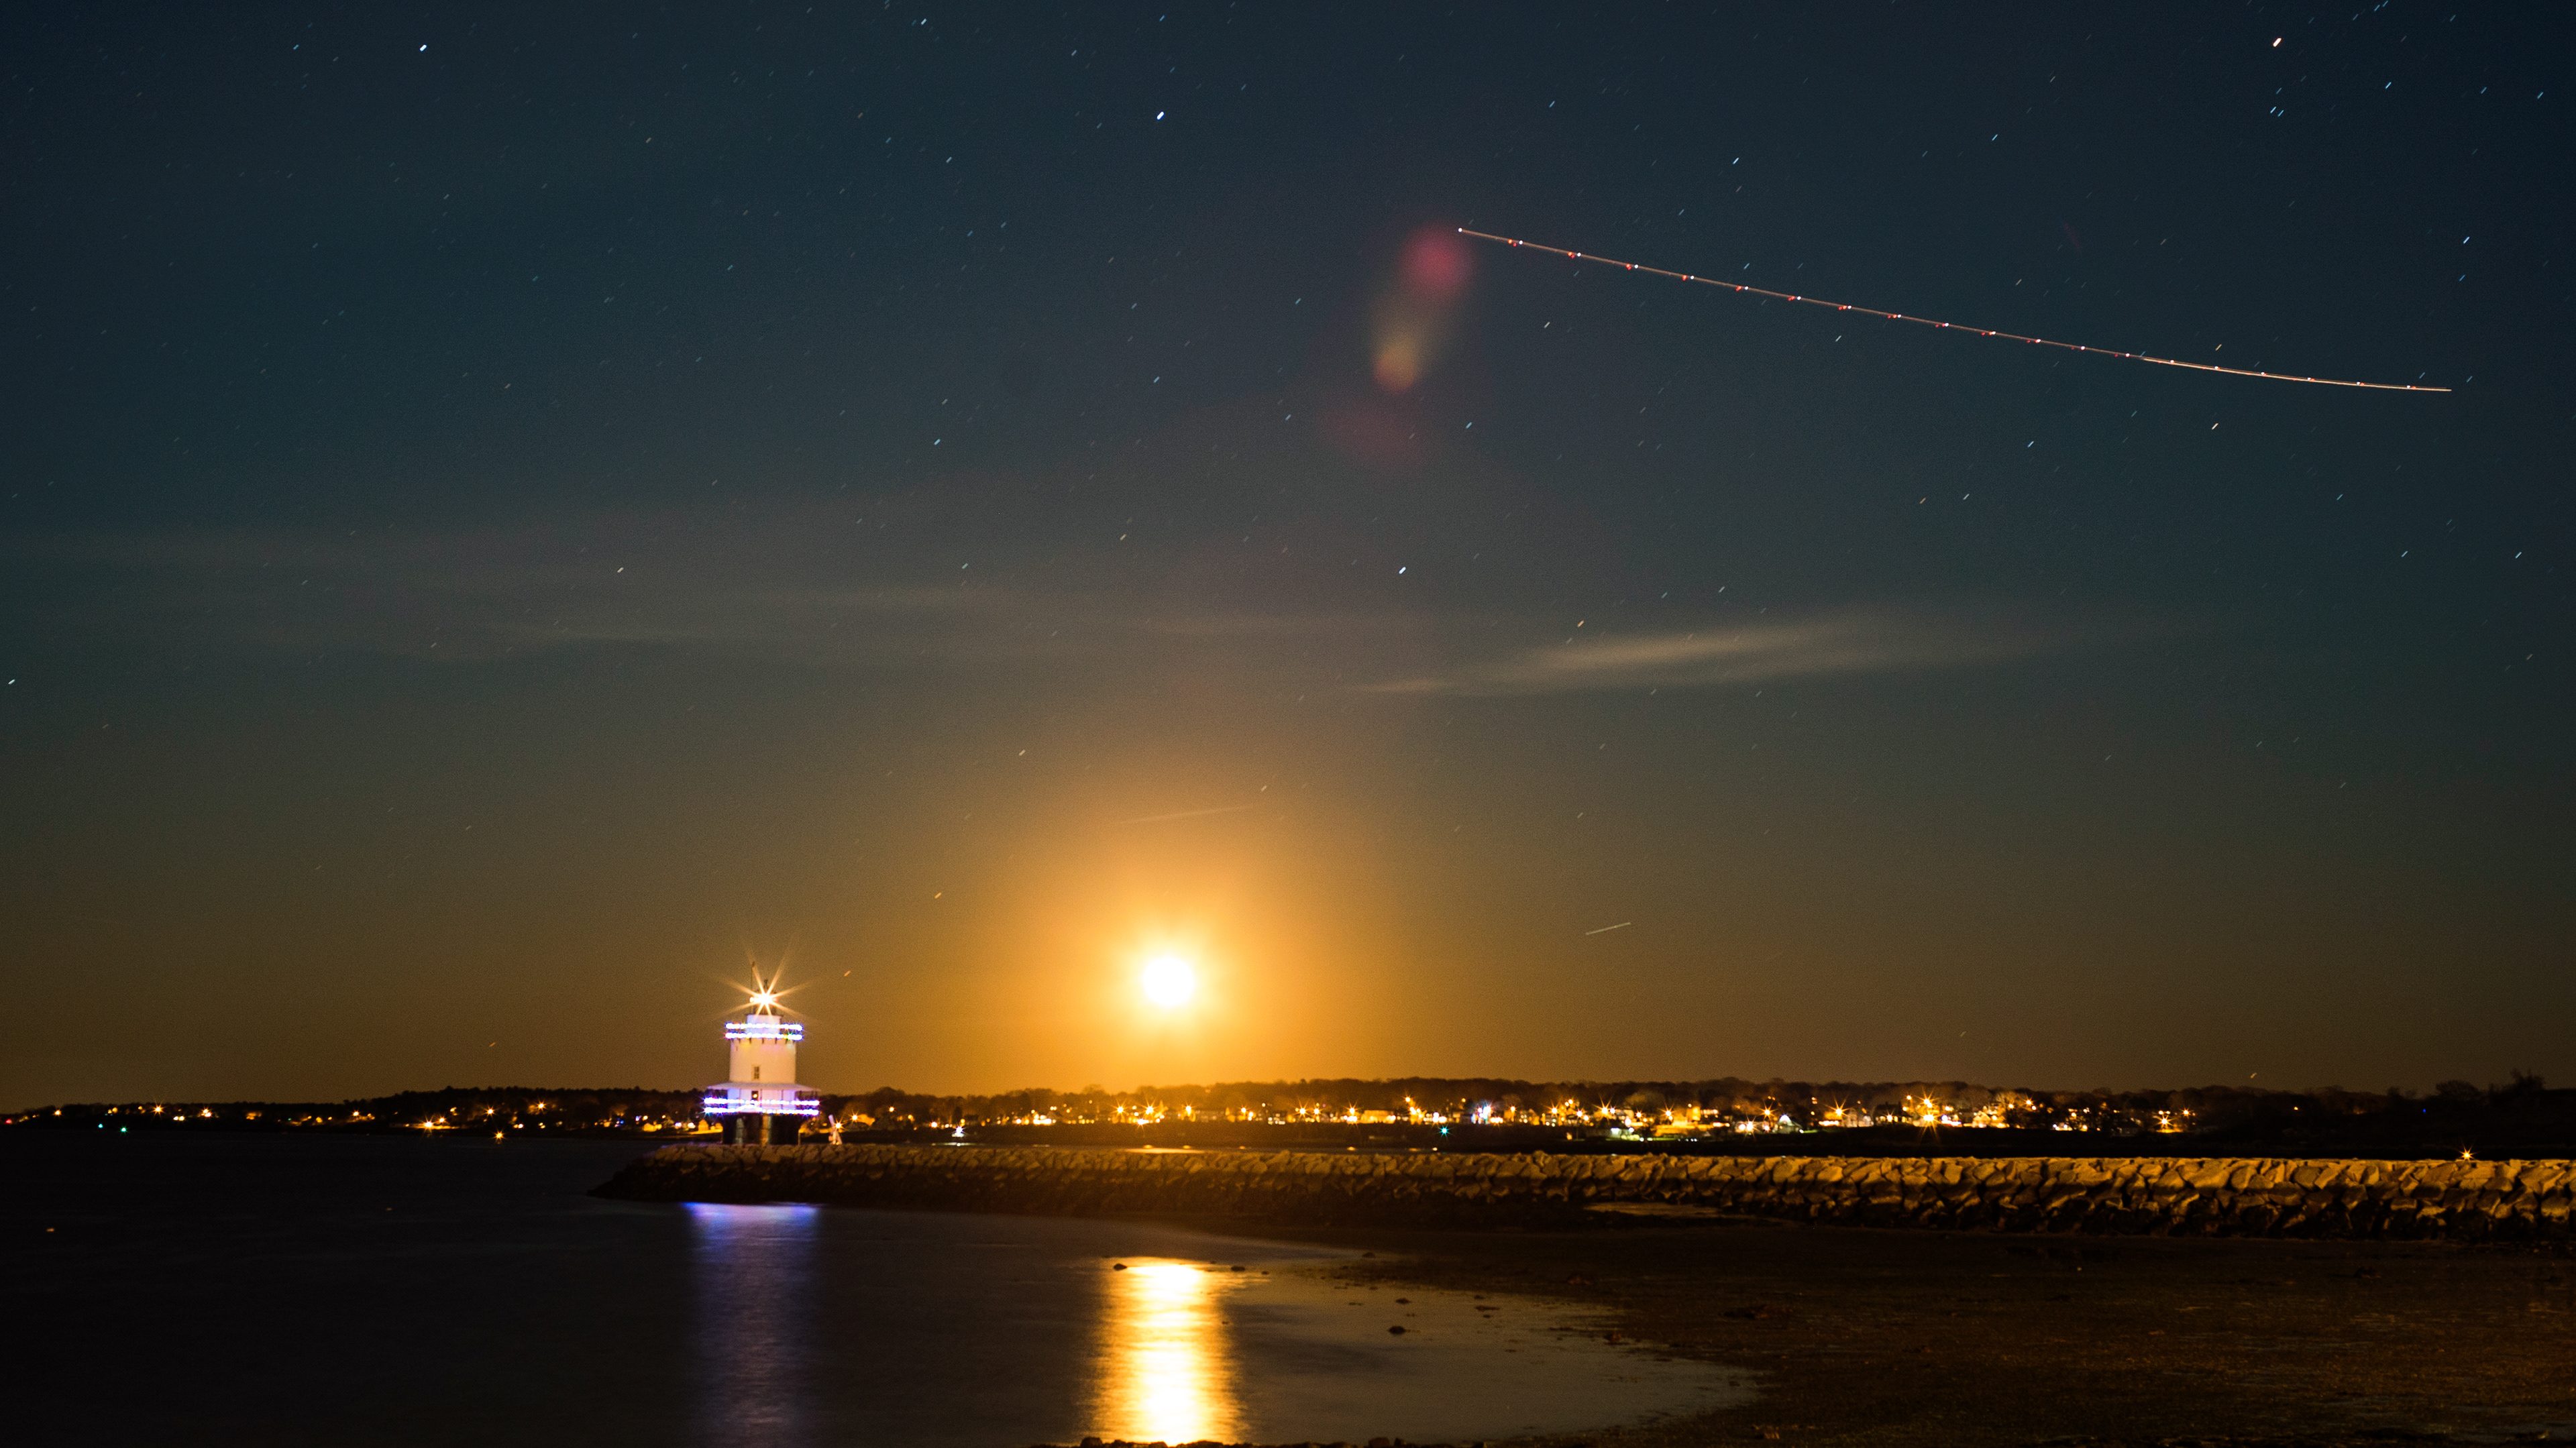
Monday, December 4...full moon plus one day
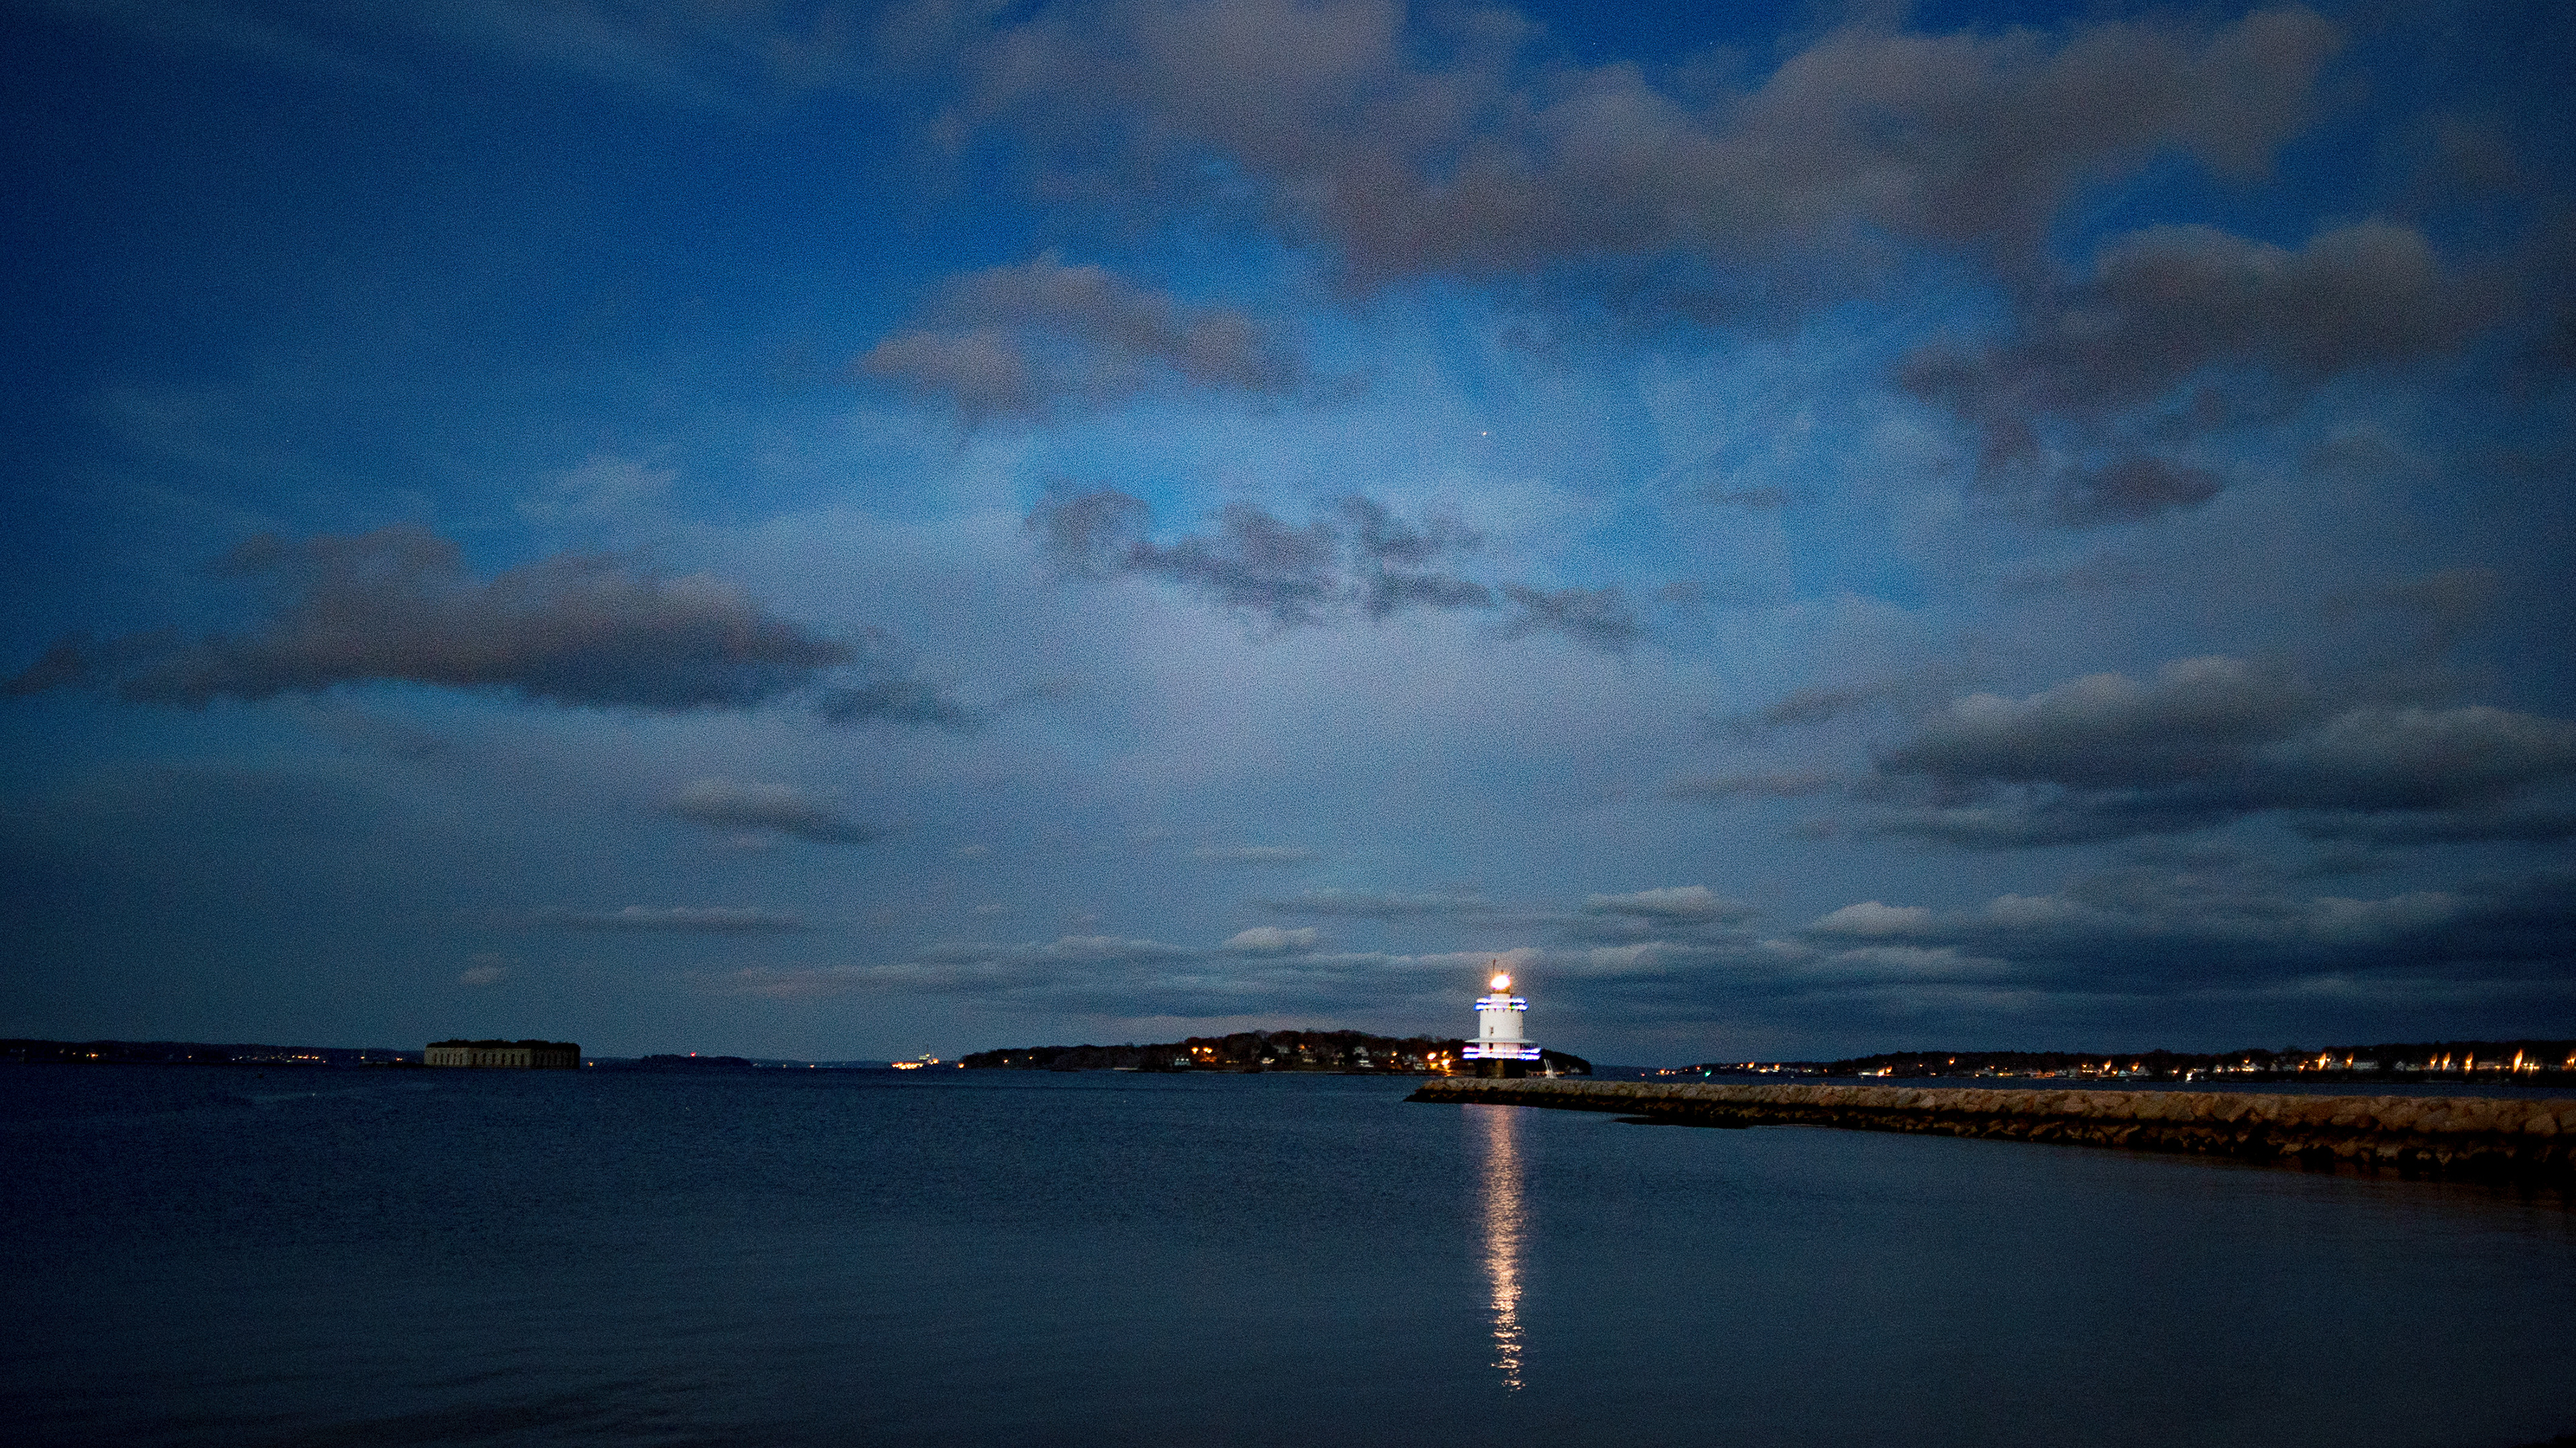
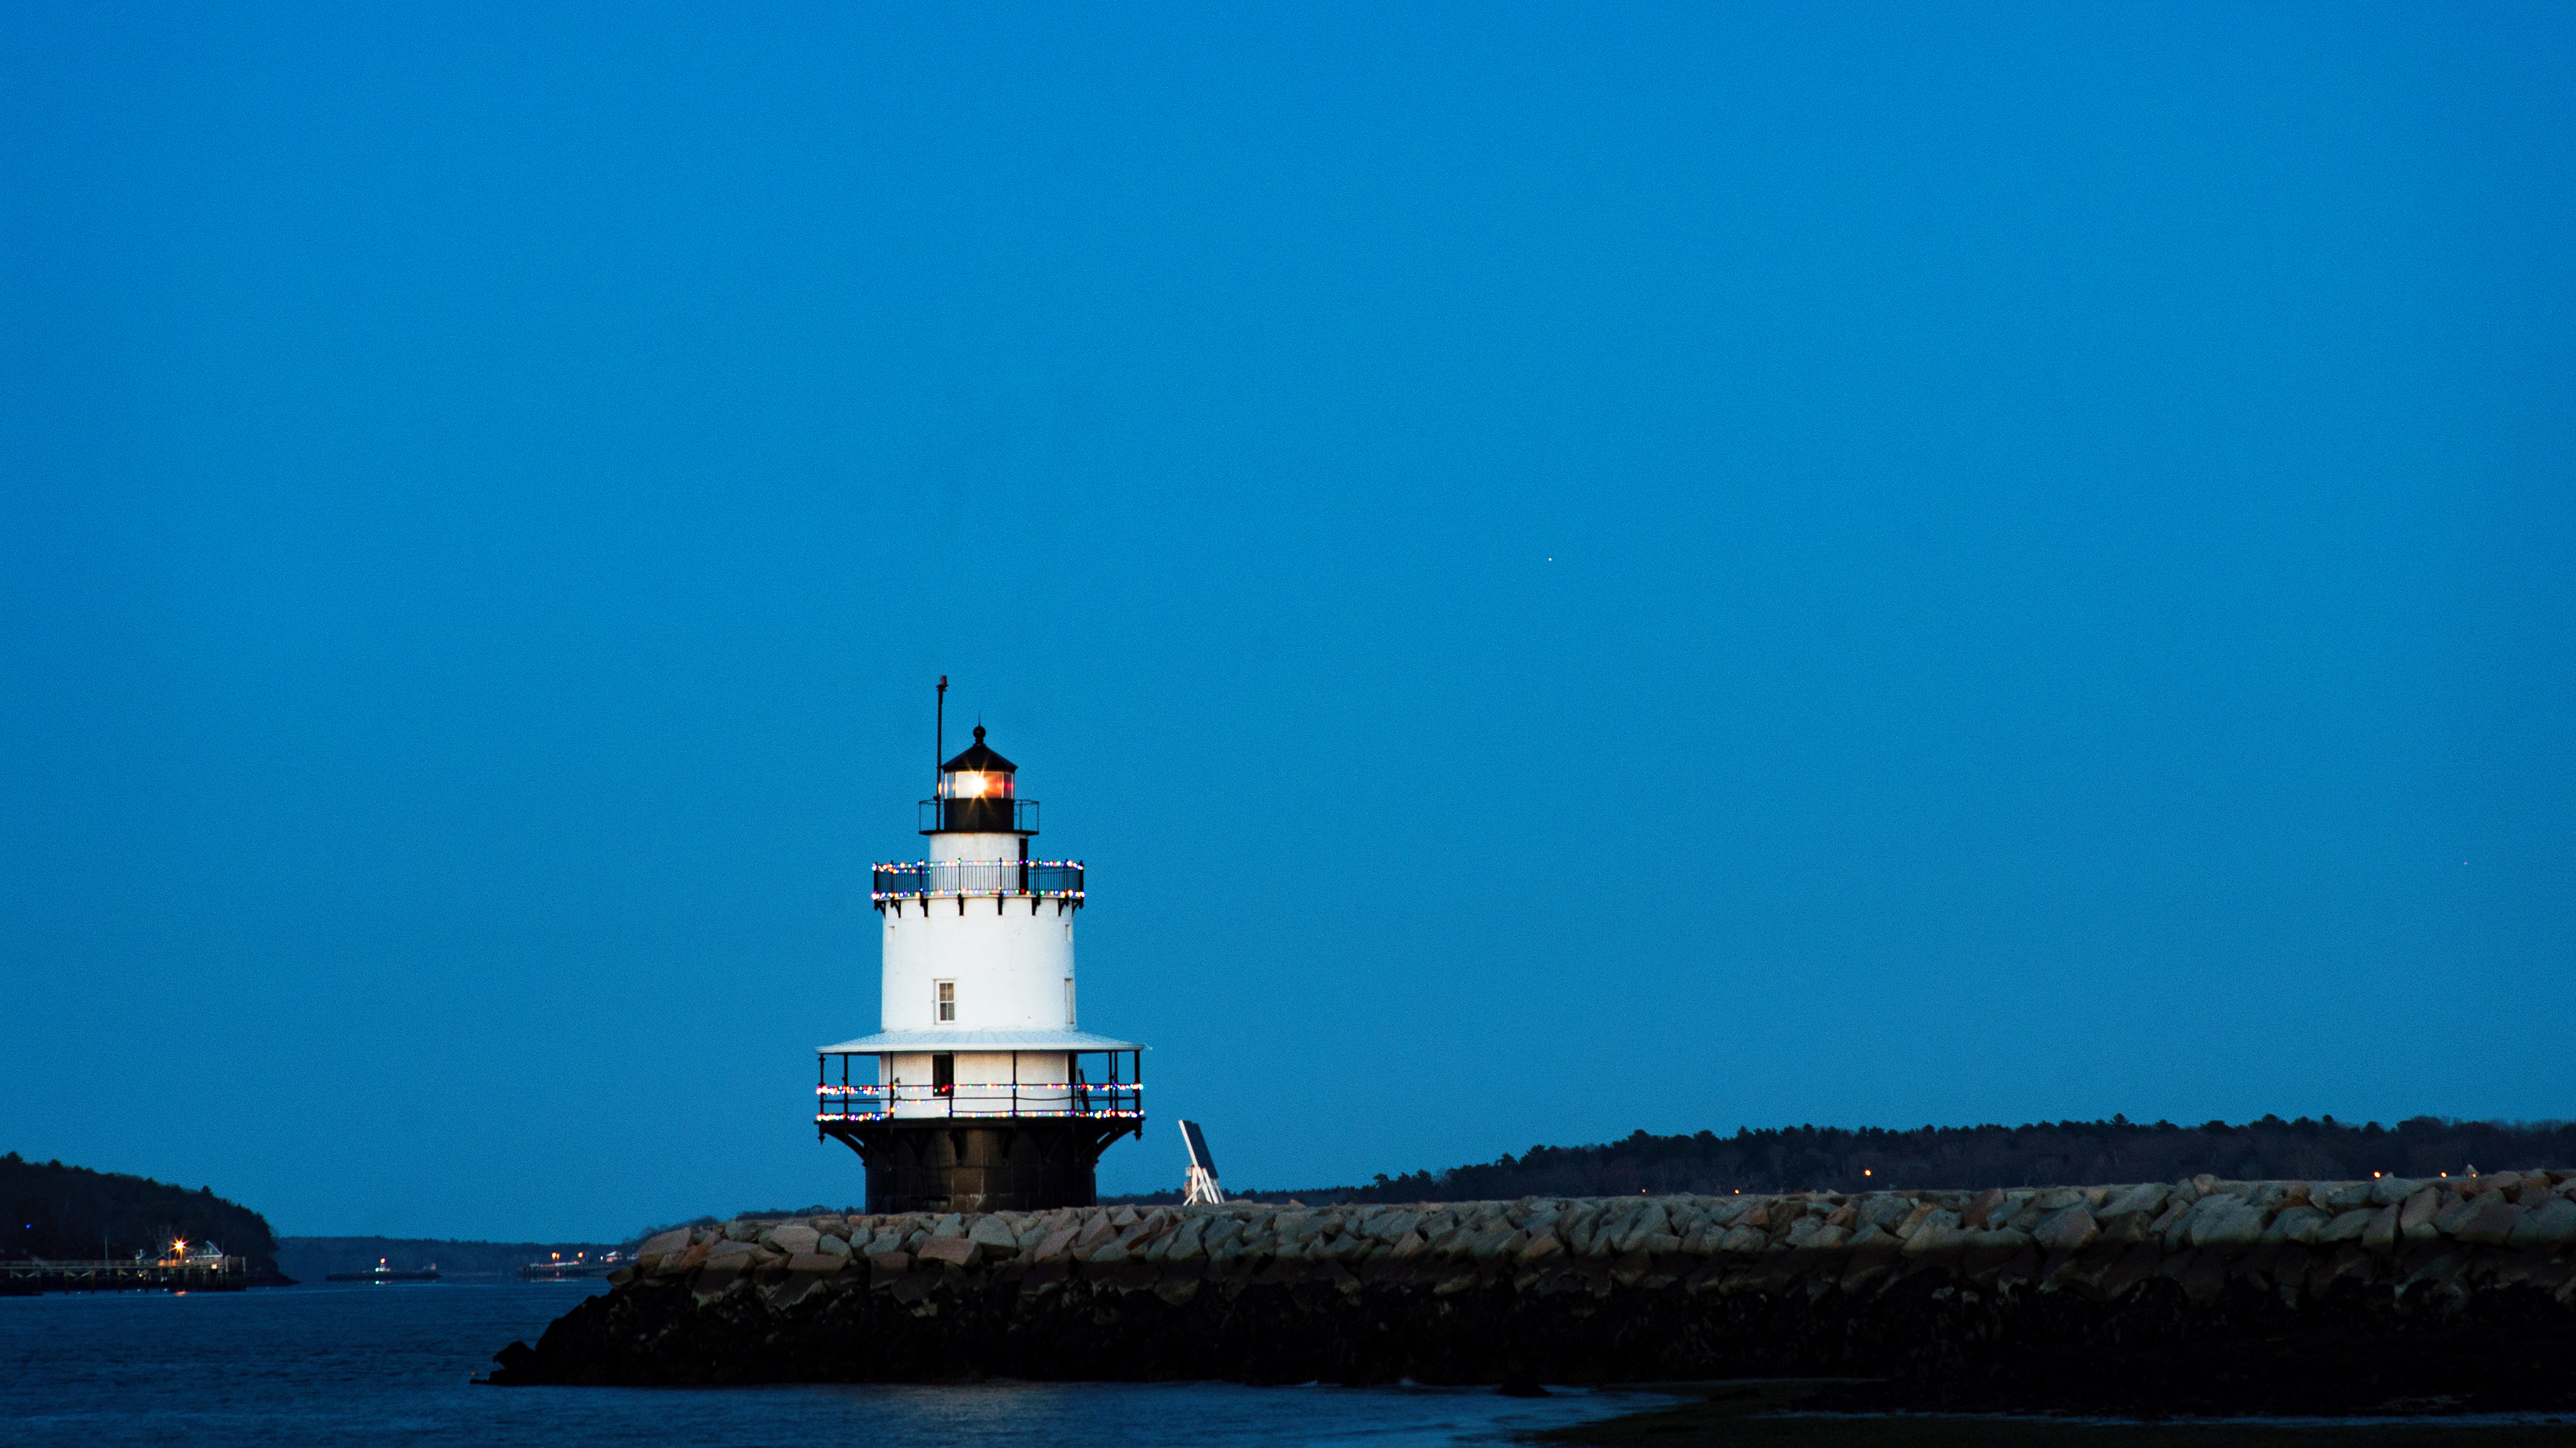
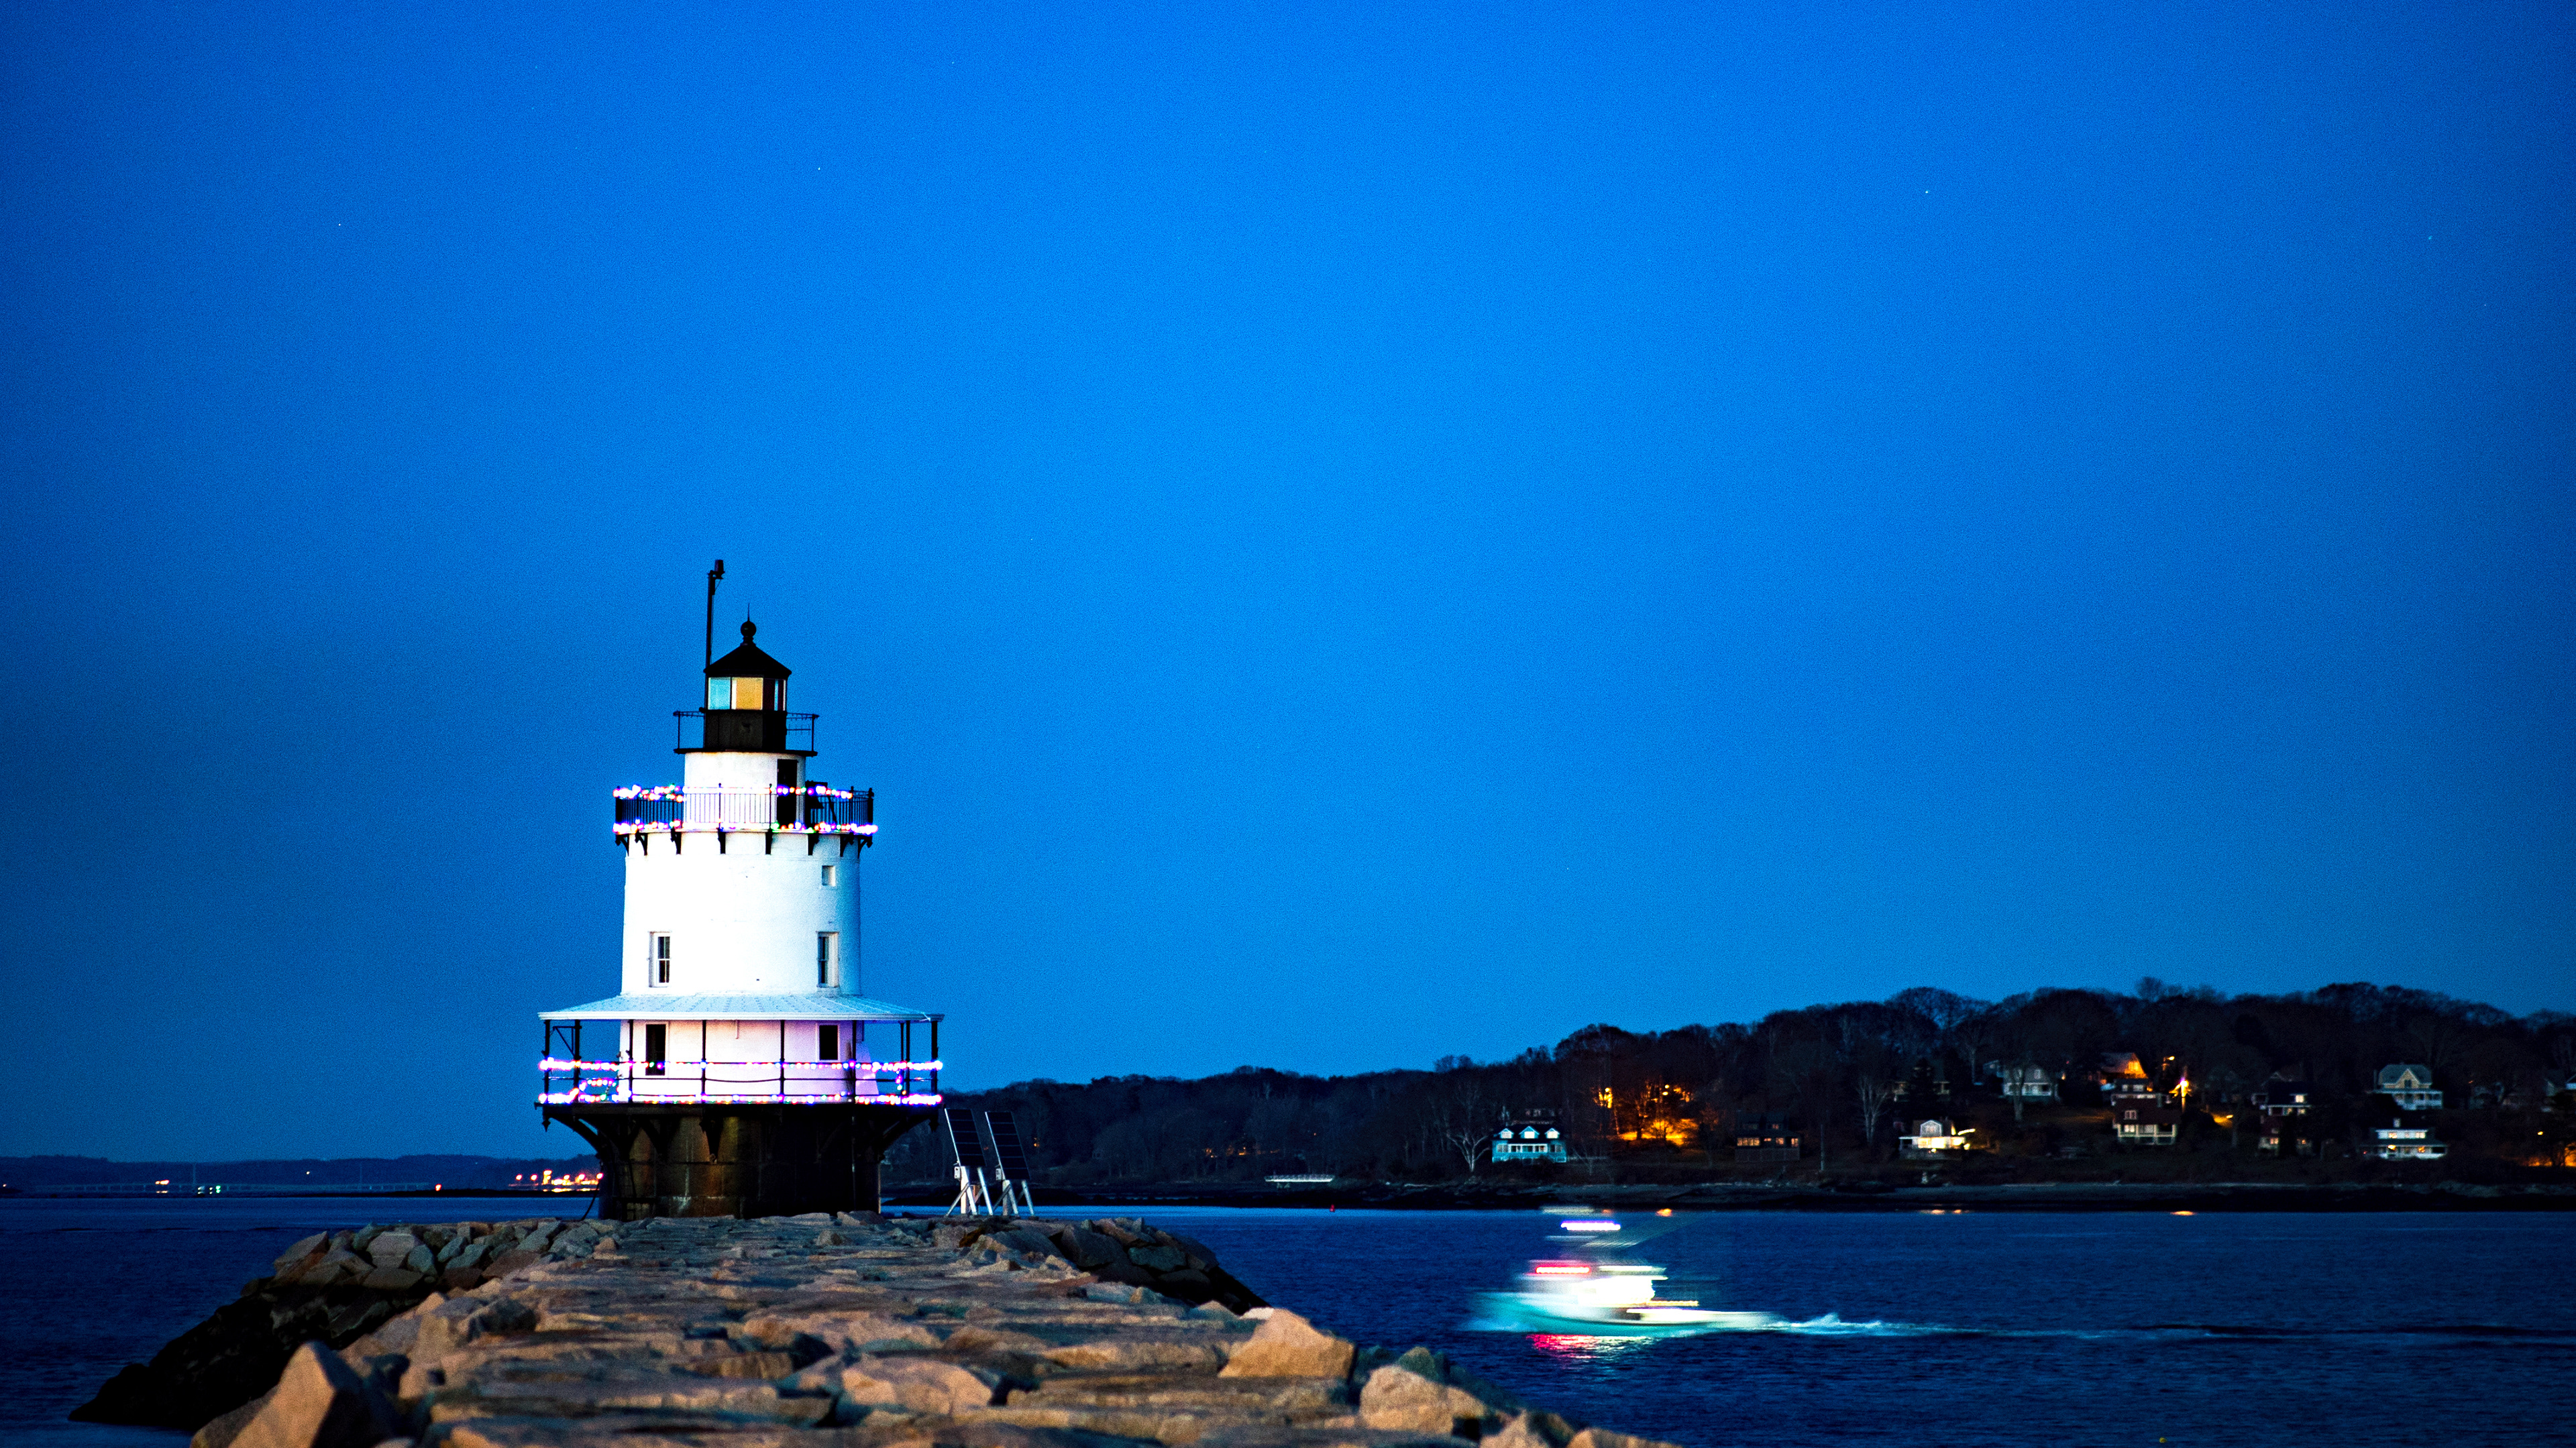
Monday Night was the night to come out, retake a bunch of the images from the initial set and wait for the chance to grab the moon as it rose an hour after sunset. The good news...ok, not good news, but different news...there were no clouds in the sky, great for a clear sky but the clouds both add texture to the sky and reflect light, the same is sort of true for the water so low tide adds a different visual complexity but I would rather have worked with the water.
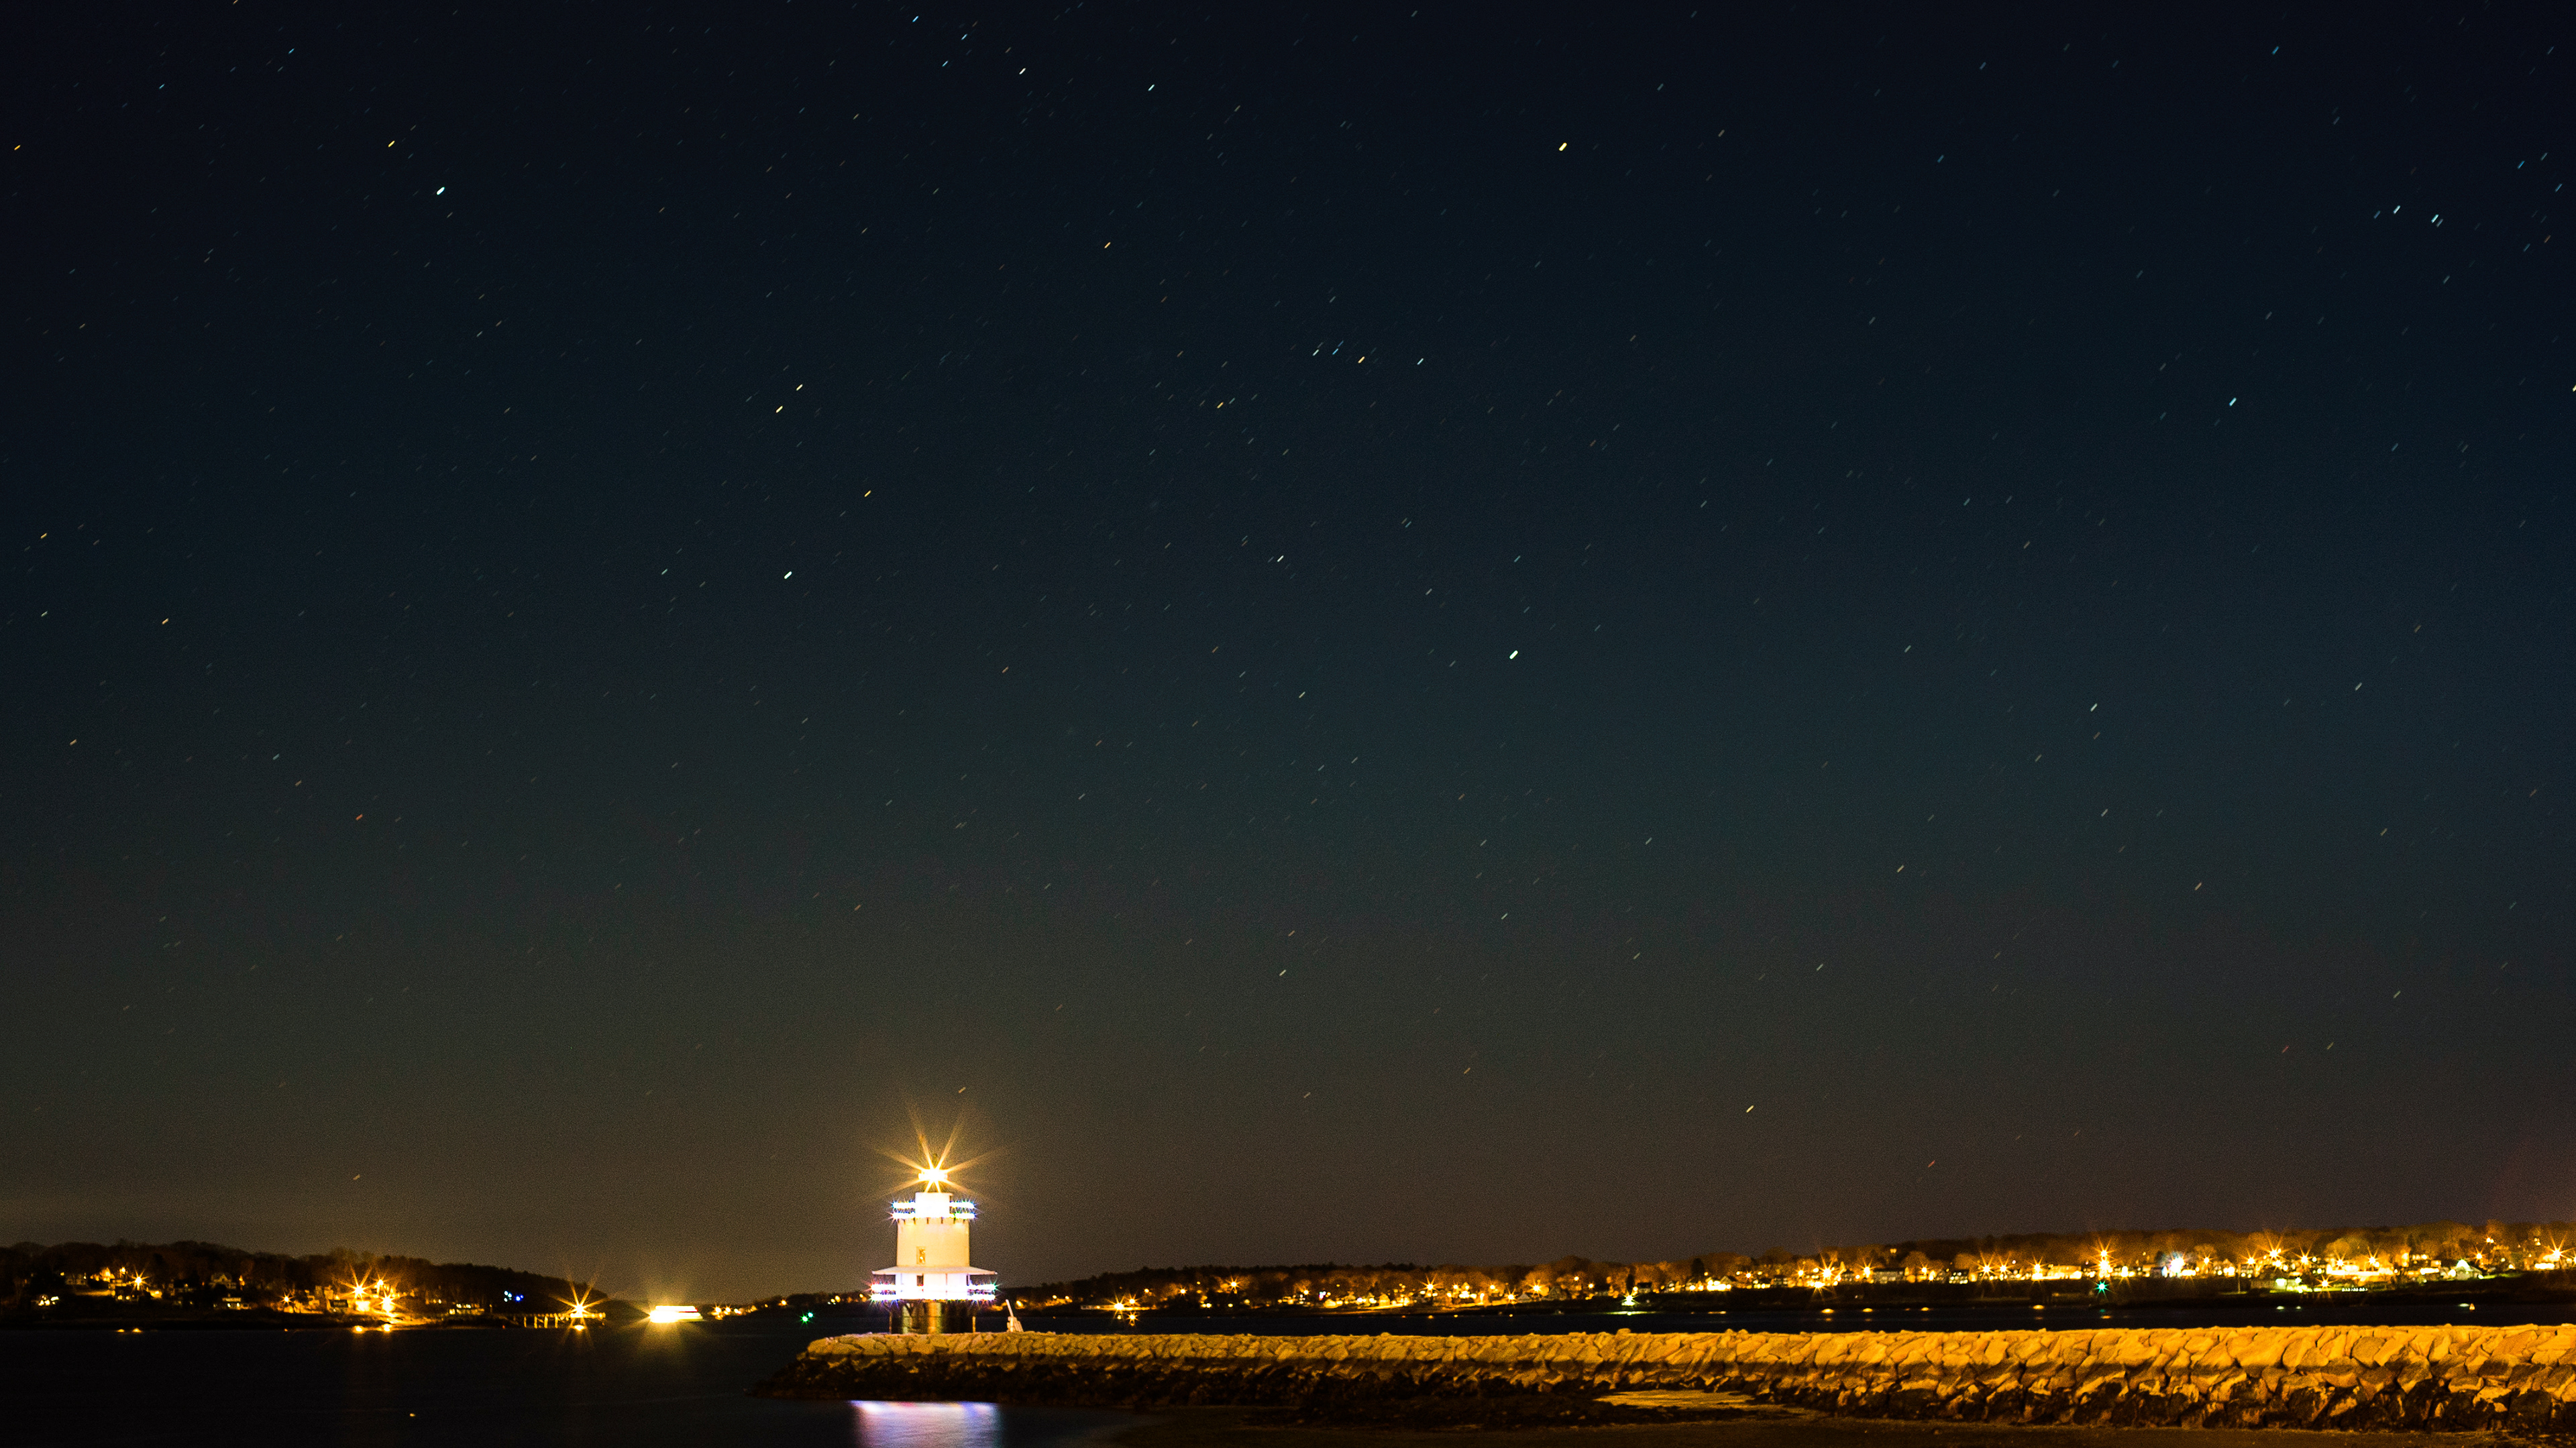
I made a few changes for Monday. I started much sooner after sunset, that should be obvious in the bright blue skies in the first images of the set. I also kept the ISO set much lower, I started at 800, bumped up to 1000, took a few shots at 2000 before settling back to 800. I will point out a big change I made in post-processing in a sec, but in general these images, even with the much more demanding light, have MUCH smoother tonal gradations and a lot less noise...THAT was a goal. I did keeping thinking I wanted to figure out how to nail the detail of the face of the moon, and next month I may make that THE goal, but with the lighthouse in the frame, I quickly found that exposure latitude needed to get BOTH the lighthouse and the moon was greater than the camera's ability, I think. I can usually pull about 2 spots of detail out a shadow, but the range was a lot more than two spots. I could have combined two images, but I, so far, have felt that I didn't want to go down that path. My loss, I know. Instead, I concentrated on getting the lighthouse to have a very smooth consistent volume. That spatial reference comes from tight tonal gradation as well as good sharp details and edges...and for the most part, I got that. One side effect of the low ISO and clear sky was a great look at the stars, if nothing else I was reminded I want to figure out how to get just one of those images of the Milky Way as full color thing...but not this week.
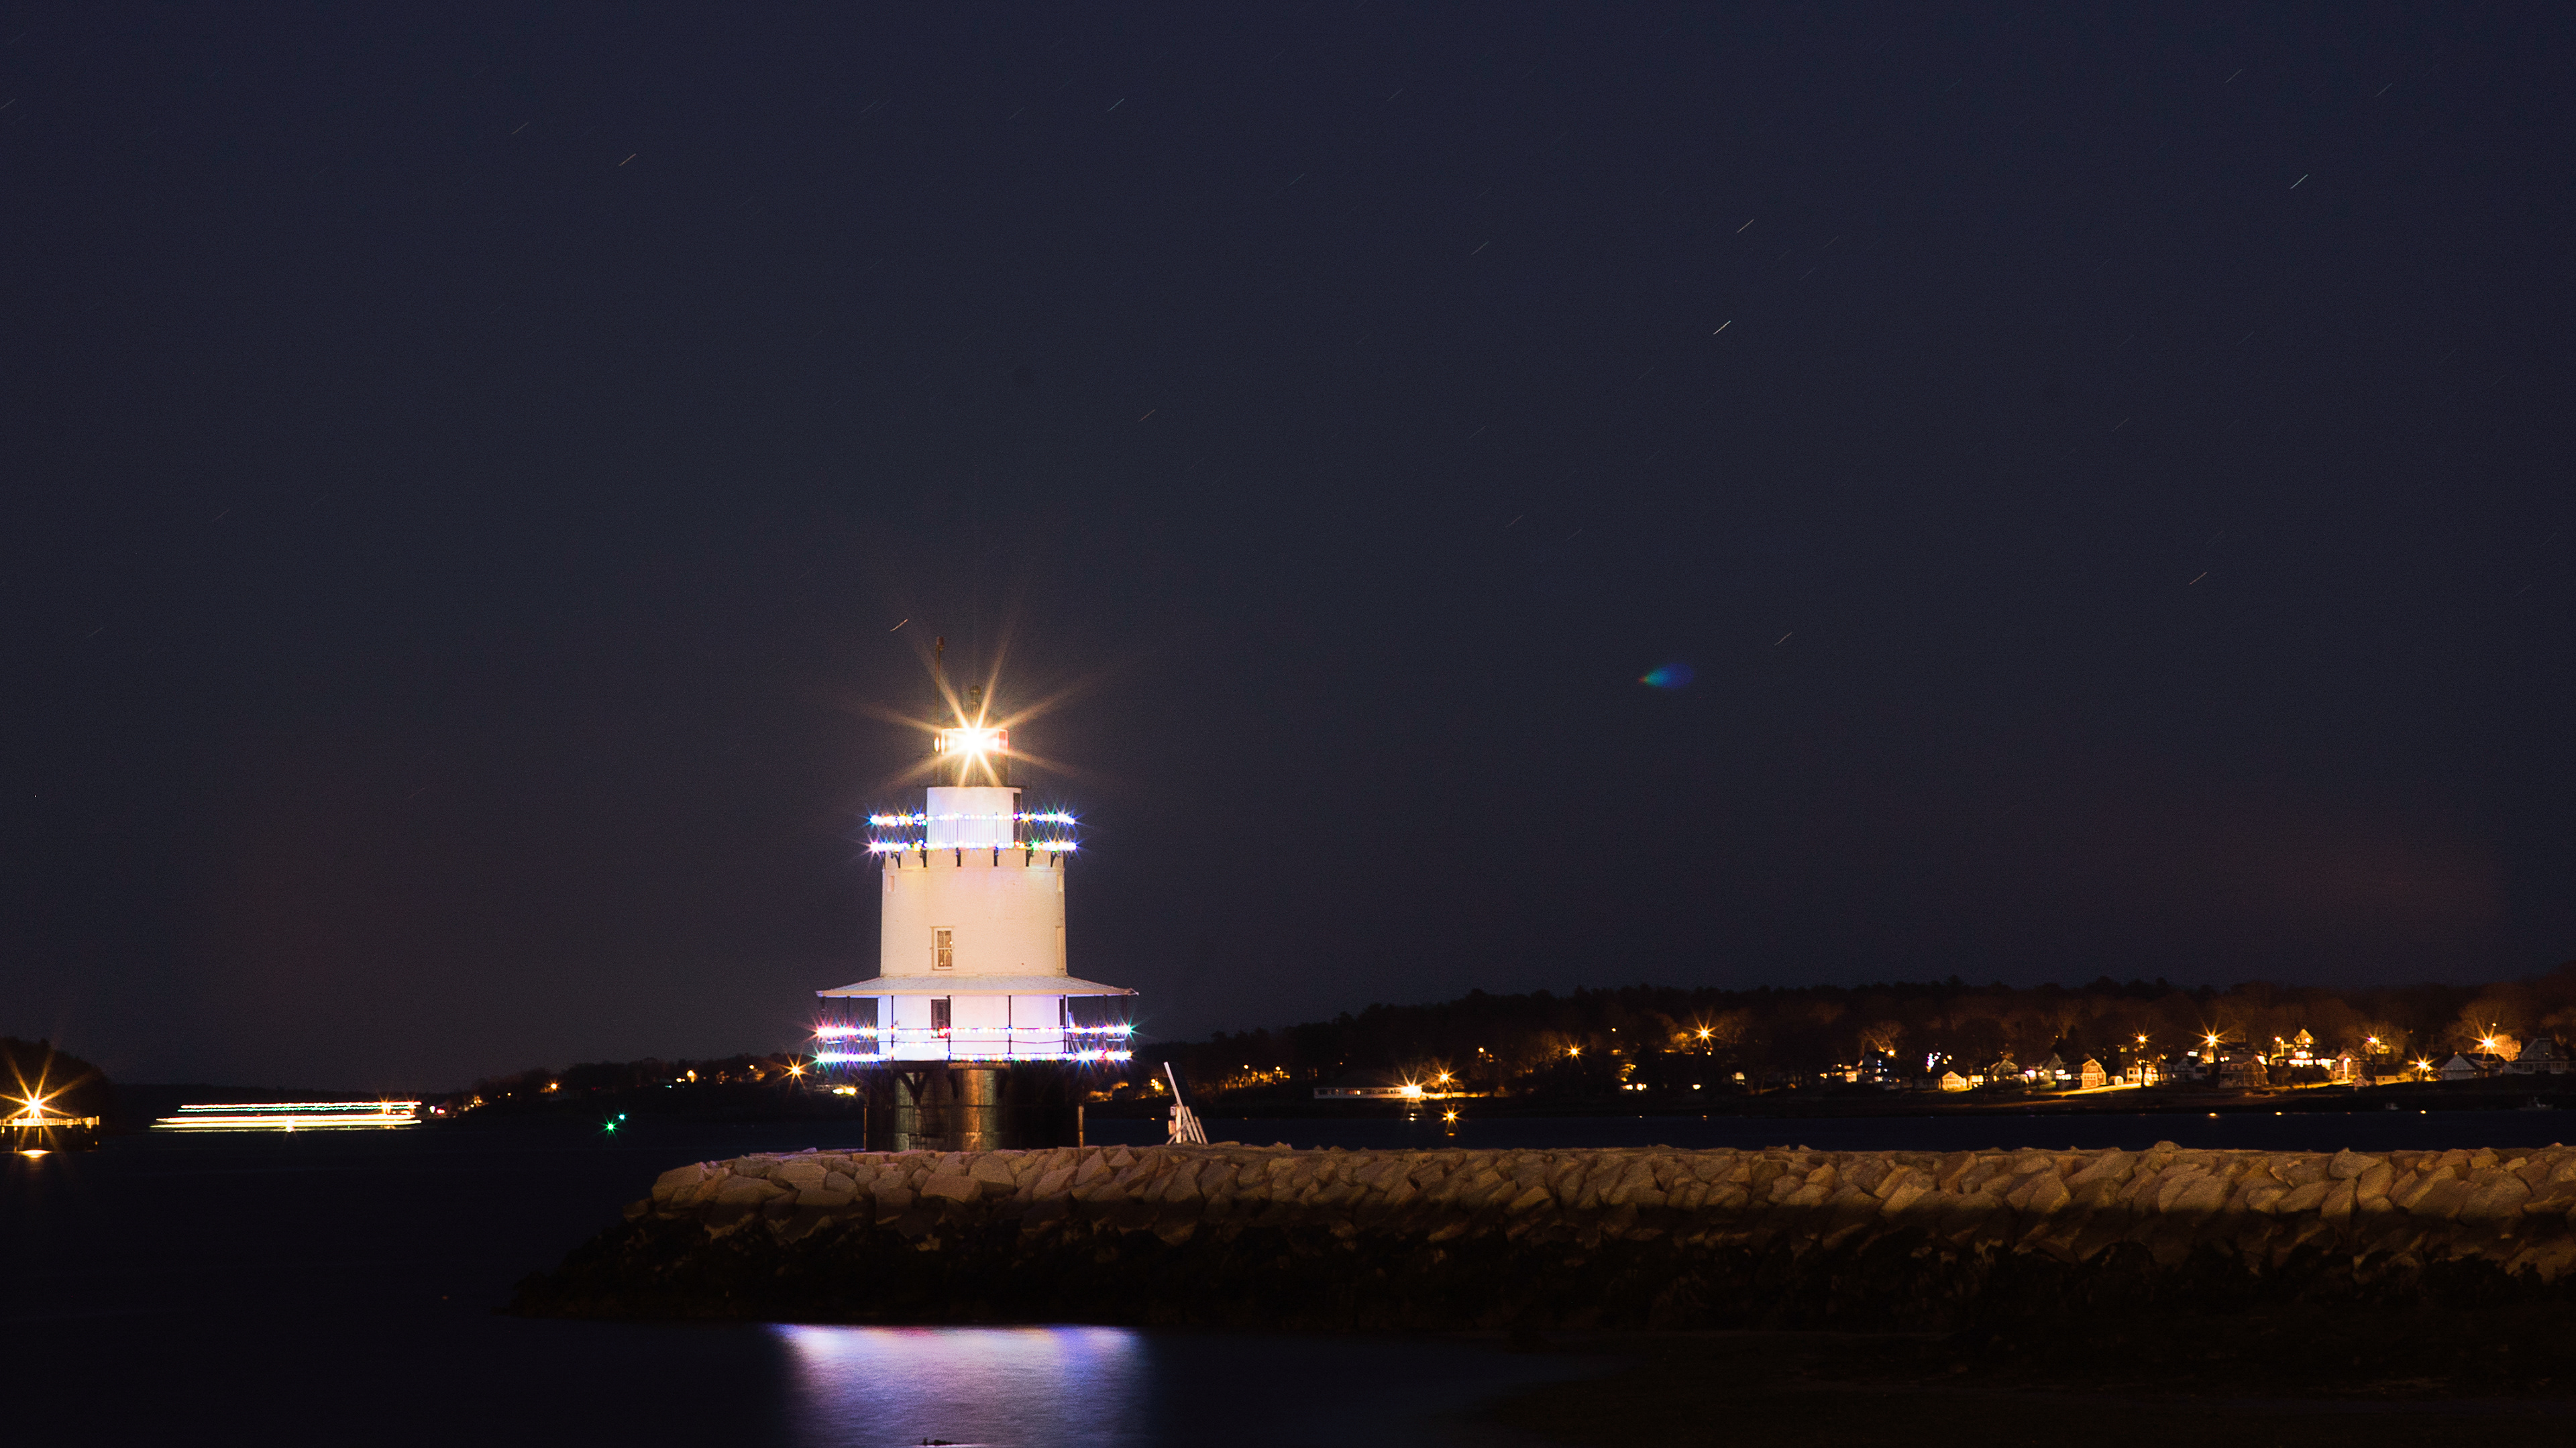
For the last year, or so, I have been really disciplined in what do in Photoshop and how. I still try to avoid destructive edits, so things like sharpening and image changes are made in a way that makes them changeable but also traceable. My workflow in Photoshop is generally this: Make a copy of the image layer, just in case bad things happen. Then make a copy of the image layer and rename it 'Sharpen'. This layer goes above the image layer, I run the High Pass filter on it, for the 12 mp A7s the pixel ration seems best around 2pixels. Then change the mode of the sharpen layer to overlay. This creates the illusion of a sharper image, the Highpass filter is looking for edges of tonal areas so that layer will make the edges pop, just a little bit, and create the illusion of more defined ( or sharper) forms.
I generally also create two new layer one for dodge and one for burn. For each one I set the mode, at creation time, to overlay and check the revealed option to fill the layer with 50% gray, remember the 50% will be transparent. Then 'painting' on the layer in black or white will darken or lighten the content below. In these images, I generally dodged the rock jetty, making it pop out just a little, as well as the lighthouse and its reflection on the water. On Monday's images, I burned in the sky where it was dark but only with a very ephemeral transparent gradation that went from black to 50% gray, I don't want to darken anything from the lighthouse down and where I knocked the moon down a bit, I did that very carefully with a painted area.
What I found quickly, however, was that the uniform sharpen was a big mistake. The Overpass filter was picking up pixilation that was already there and magnifying it, a lot. For Monday's images, I did one of two things. I either made the sharpen layer and then deleted the sky and water so that only the lighthouse and jetty were sharpened. The other option was to make a gradation that went from 50% gray to transparent and start it in the sky but have it transition to transparent before it got to the lighthouse....so it was a very short graduation.
Below...because I found an image of Pablo Inirio's printing notes and it blew me away, is a (will be) a diagram of one of the images above with my 'printing notes'.